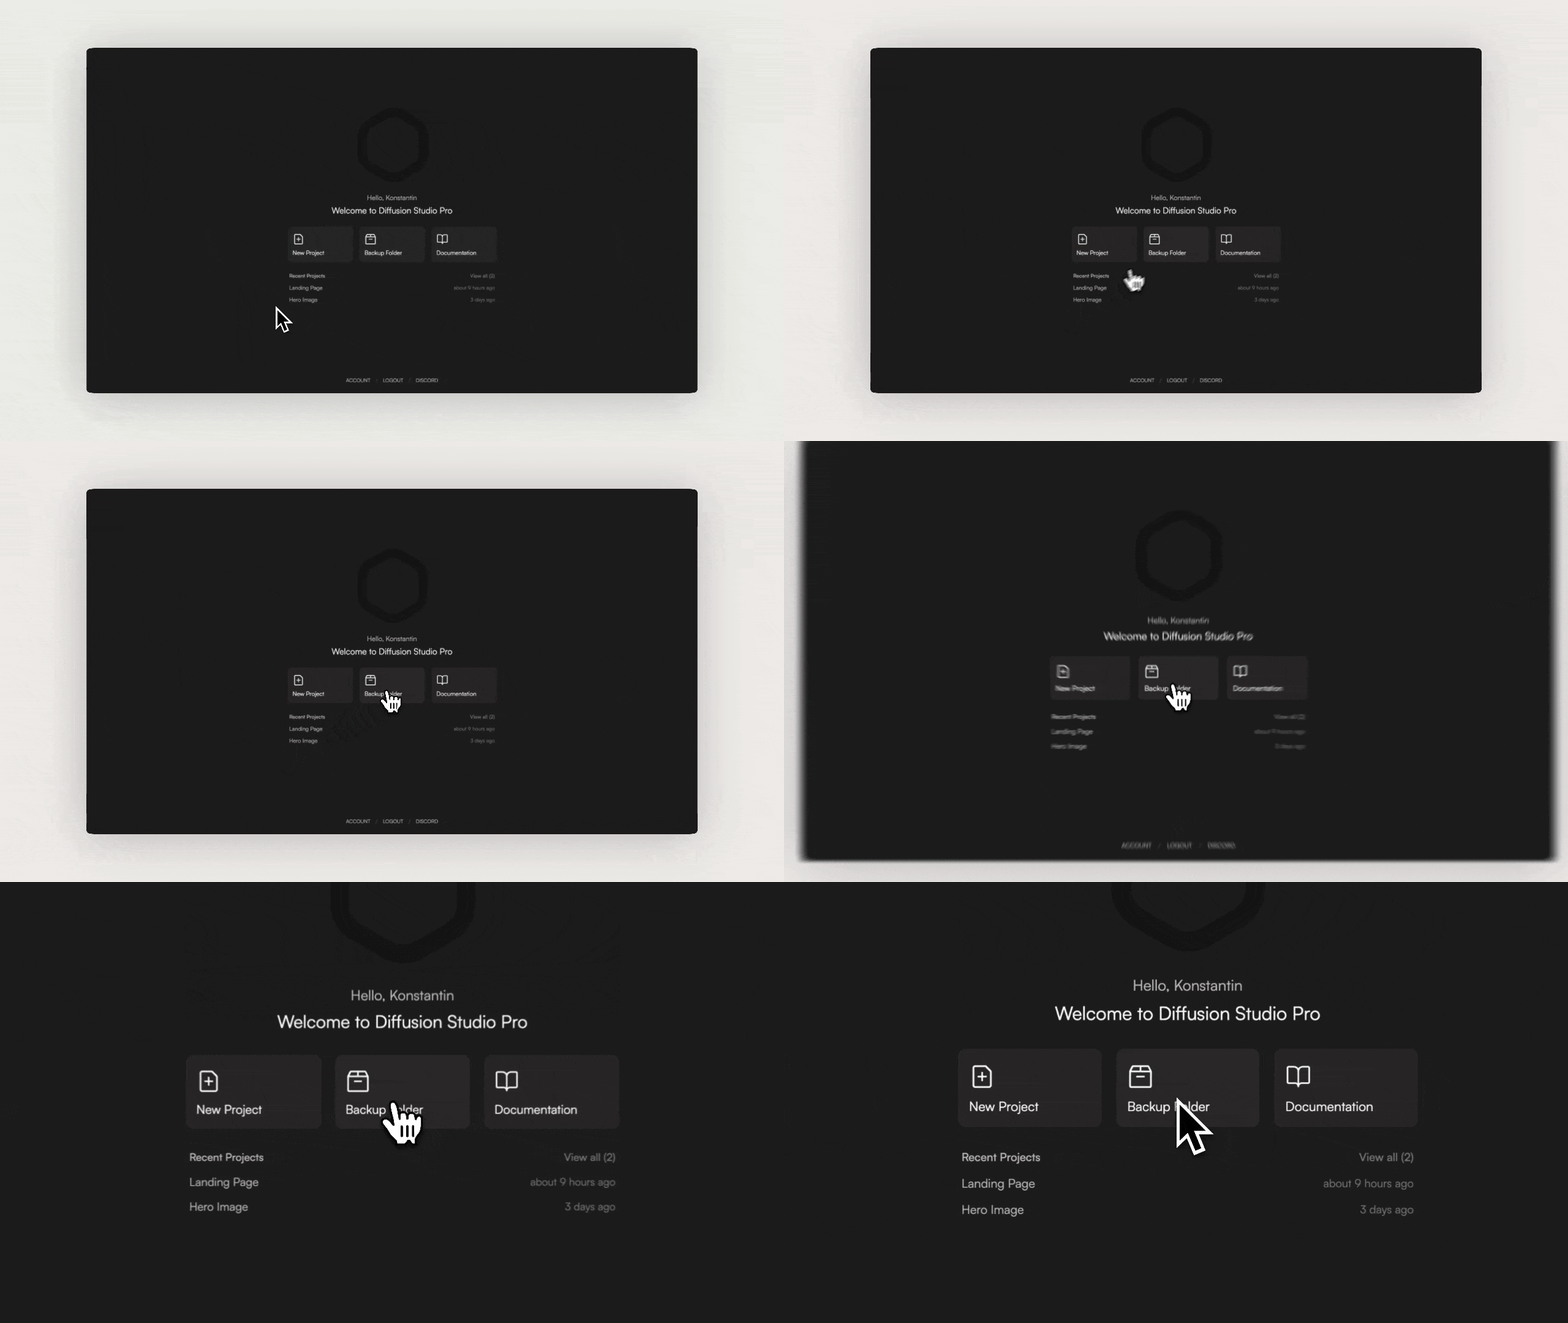
Be aware: Assets you created in previous projects will no longer be available if you change the backup folder later.Let’s jump into the editing UI by creating a new project.

Interface Overview
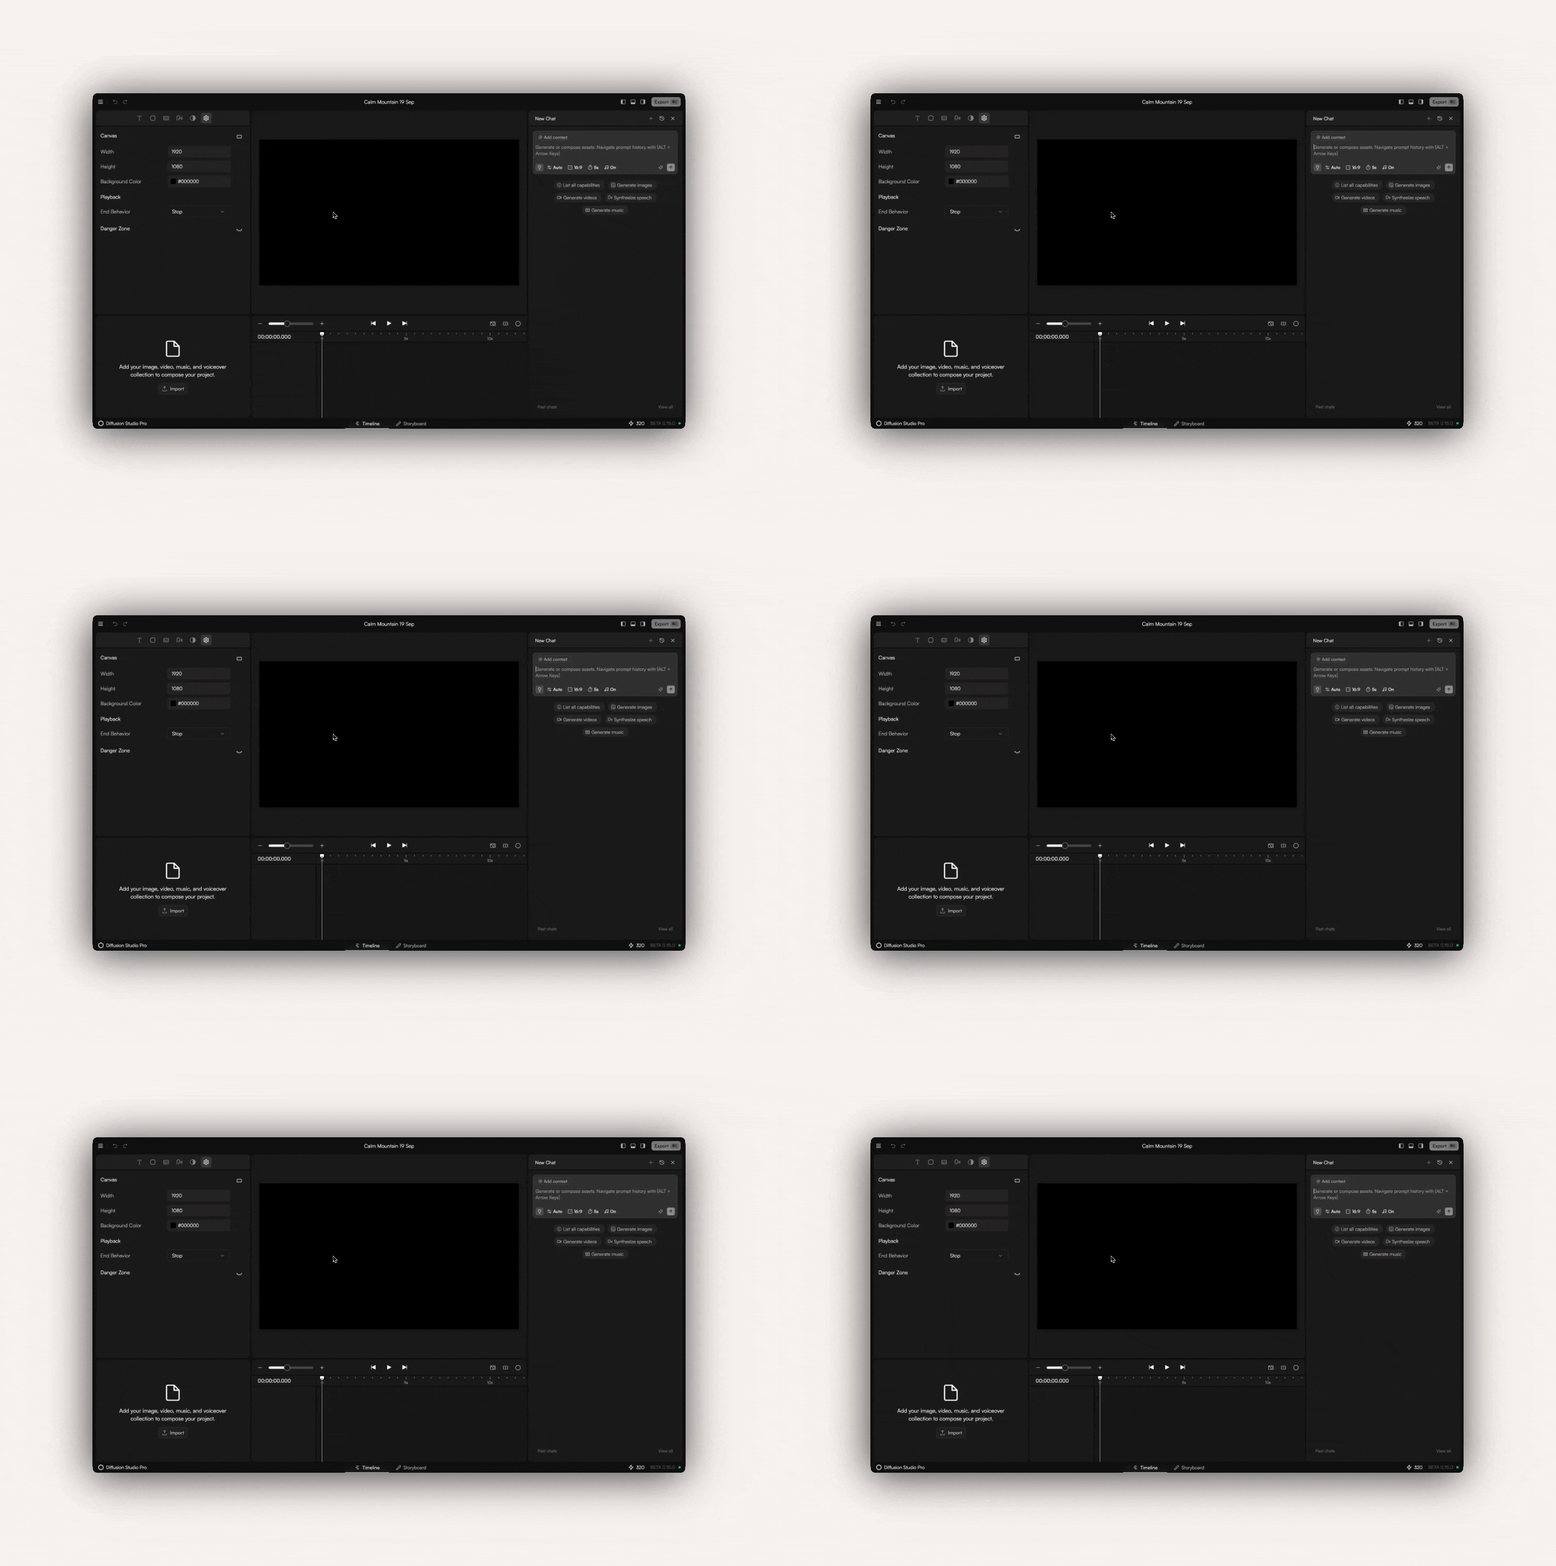
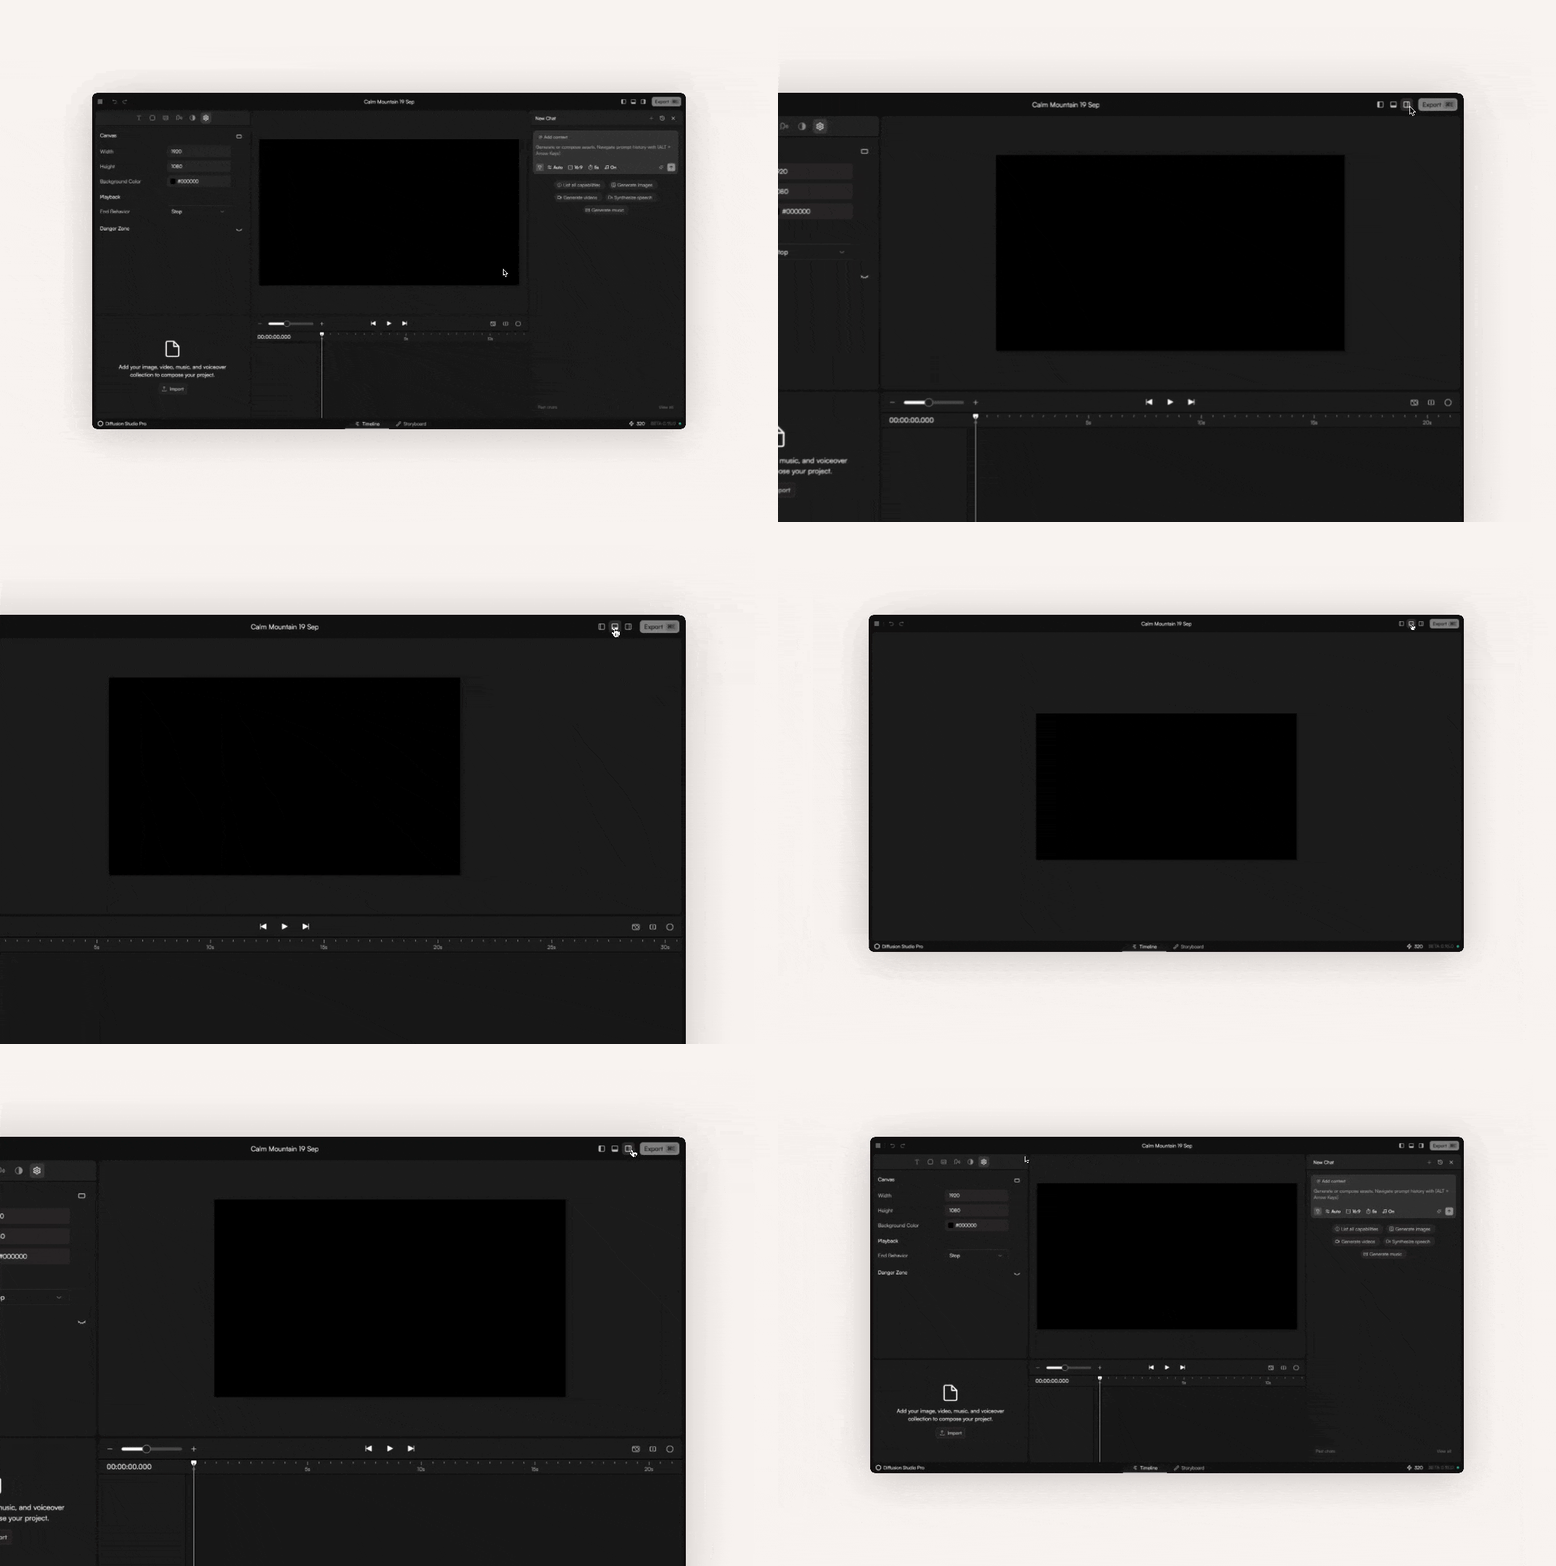
The Diffusion Studio Pro interface is organized into 5 main panels, each serving a specific function:Upper Left Panel
Common video editing tools such as transitions, captions, shapes, and more
Lower Left Panel
The media panel, where all assets for your video are stored
Top Center Panel
The canvas, showing the current state of your composition; it can be panned and repositioned
Bottom Center Panel
A non-linear timeline that supports an infinite number of layers and clips
Right
A chat sidebar for generating assets or manipulating the composition


When to Use Which View?
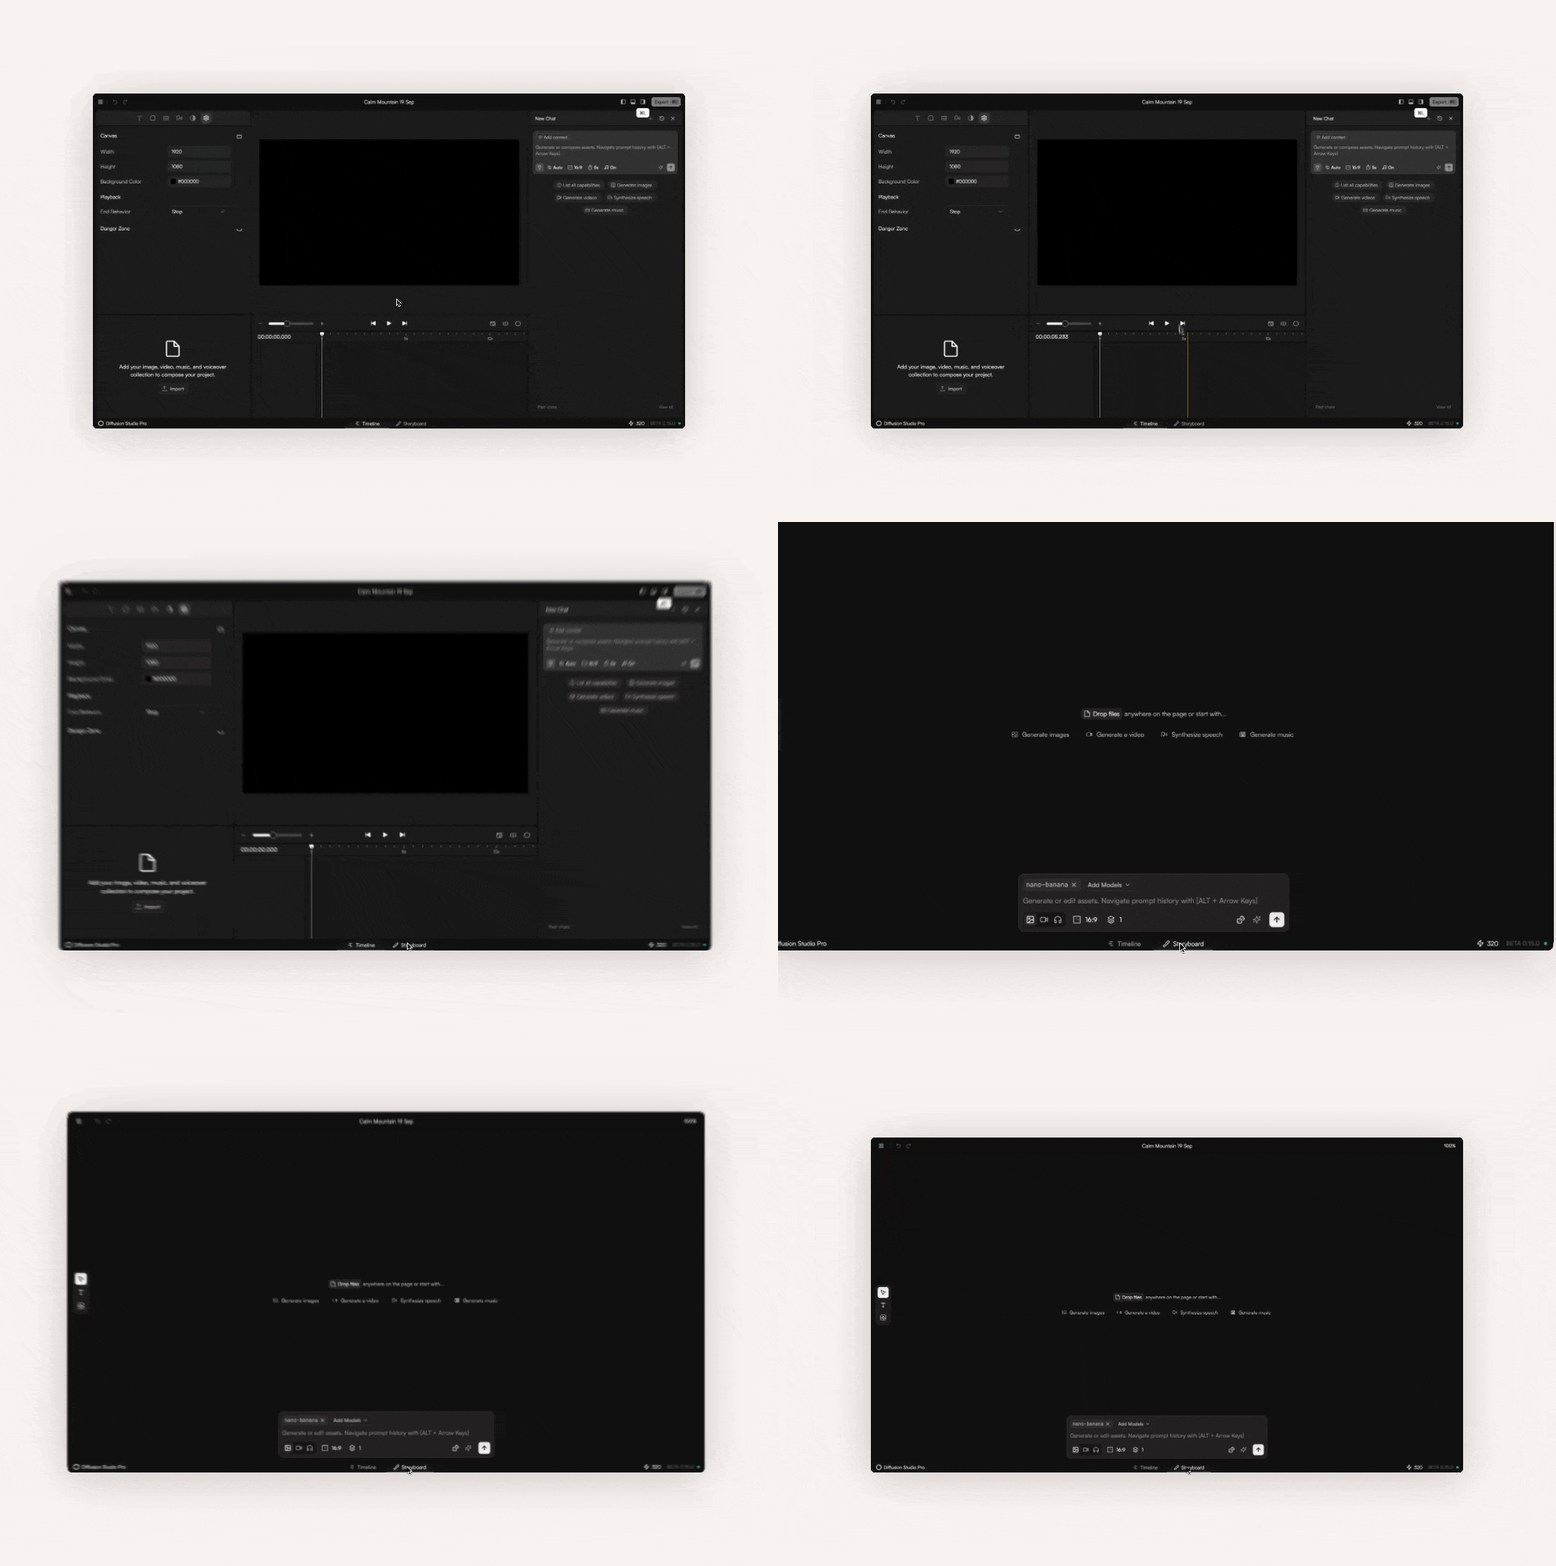
Canvas View
Best for generating single assets (images, videos, music) in parallel. Chats are non-blocking, i.e. you can submit prompts without waiting for the result of the previous prompt. The canvas also lets you organize assets in whatever structure fits your project.
Timeline View
Best for composing assets into a full video. The chat can access the current state of the composition and supports multi-step instructions.
Rule of thumb: use the timeline for agentic workflows and the canvas for single-asset generation.
Next Steps
1
Set up your backup folder
Choose a location on your computer where all generated assets will be stored.
2
Create your first project
Start a new project to explore the interface and begin creating content.
3
Learn about the Chat Box
Discover how to use AI-powered generation through the chat interface.
Learn more about Chat Box
4
Explore Examples
Check out our examples to see what’s possible with Diffusion Studio Pro.
Create a Game Trailer