> ## Documentation Index
> Fetch the complete documentation index at: https://learn.diffusion.studio/llms.txt
> Use this file to discover all available pages before exploring further.

# Welcome

> Start your learning journey with beginner-friendly resources that will have you creating in no time.

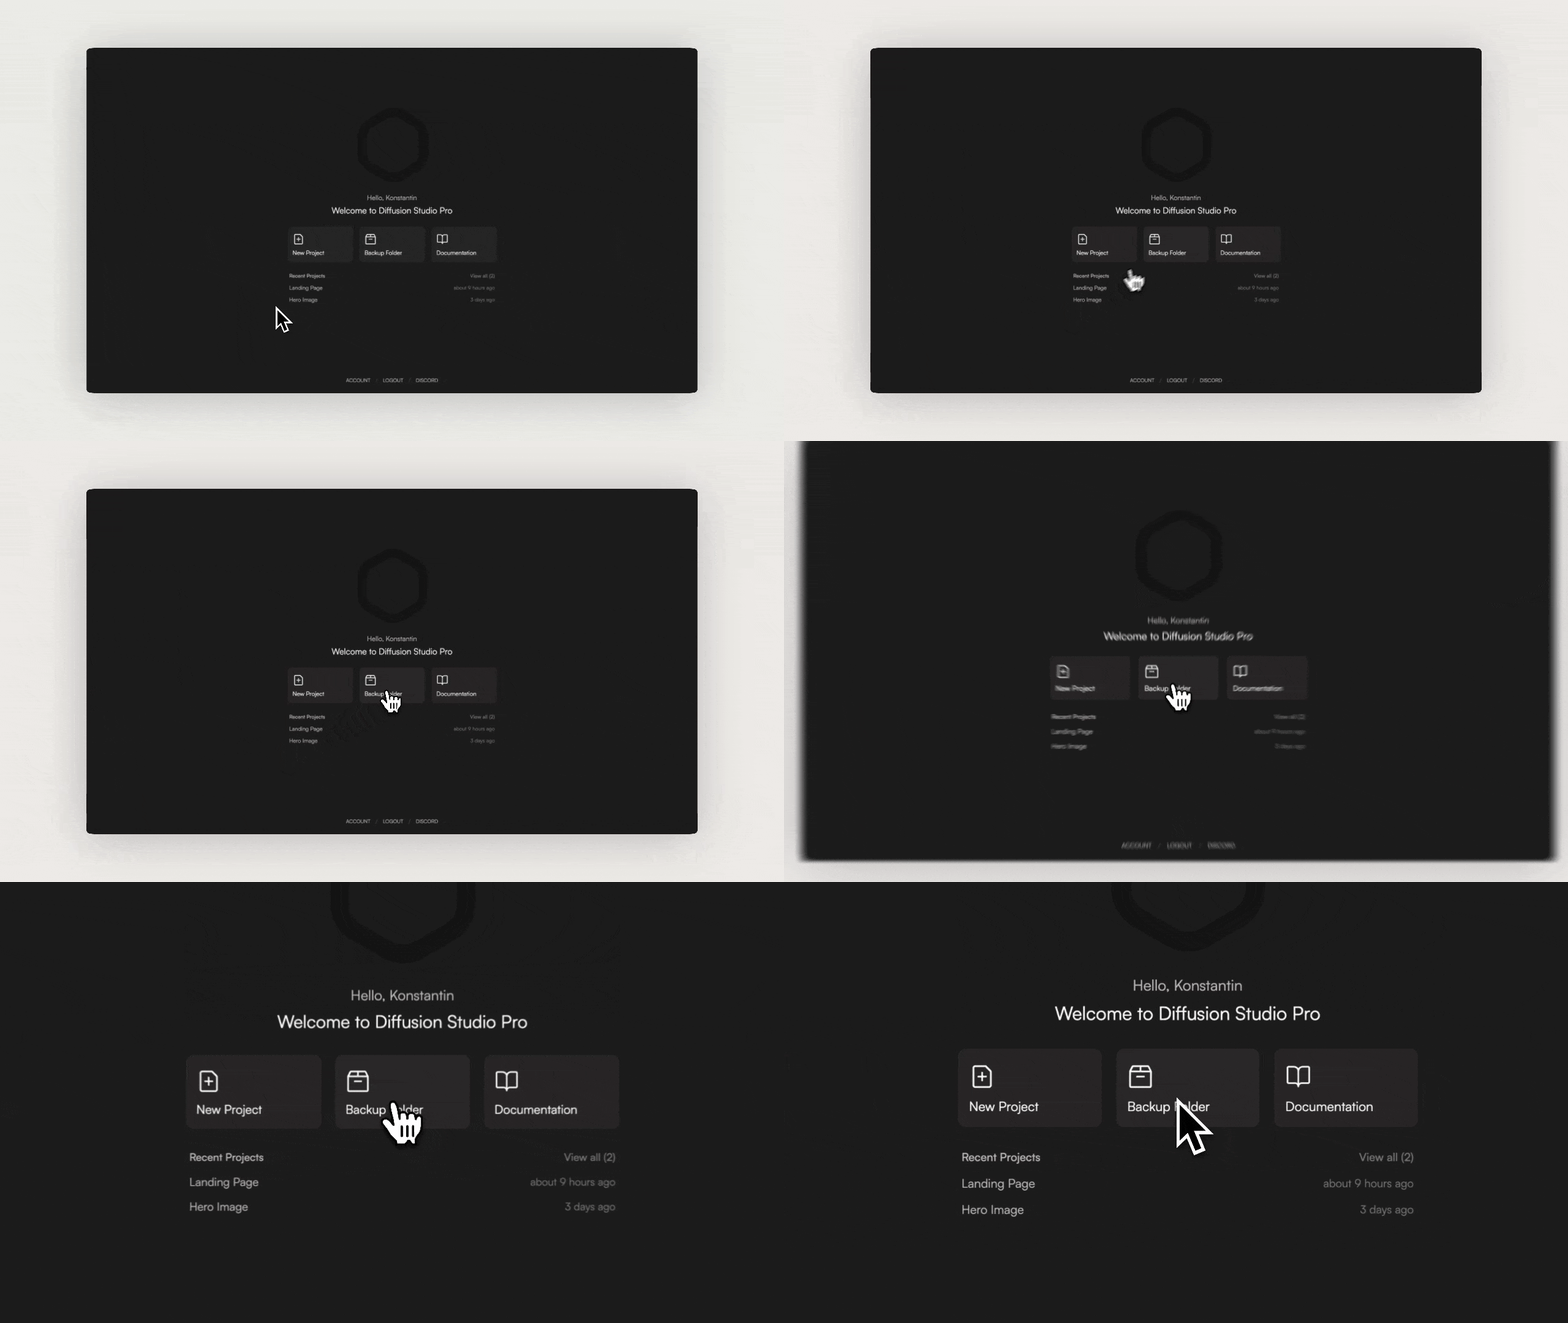
When you open Diffusion Studio Pro for the first time, make sure to select a backup folder. All generated assets will be saved there.

<div style={{ margin: "16px 0", borderRadius: 12, overflow: "hidden" }}>
  <img src="https://mintcdn.com/diffusionstudioinc/y163U1HfYM57SE_y/assets/welcome/backup_folder.gif?s=bc71444872caf1960eeb8182e6f4cc75" alt="Backup folder demo" style={{ width: "100%", height: "auto", display: "block" }} width="1280" height="720" data-path="assets/welcome/backup_folder.gif" />
</div>

> **Be aware:** Assets you created in previous projects will no longer be available if you change the backup folder later.

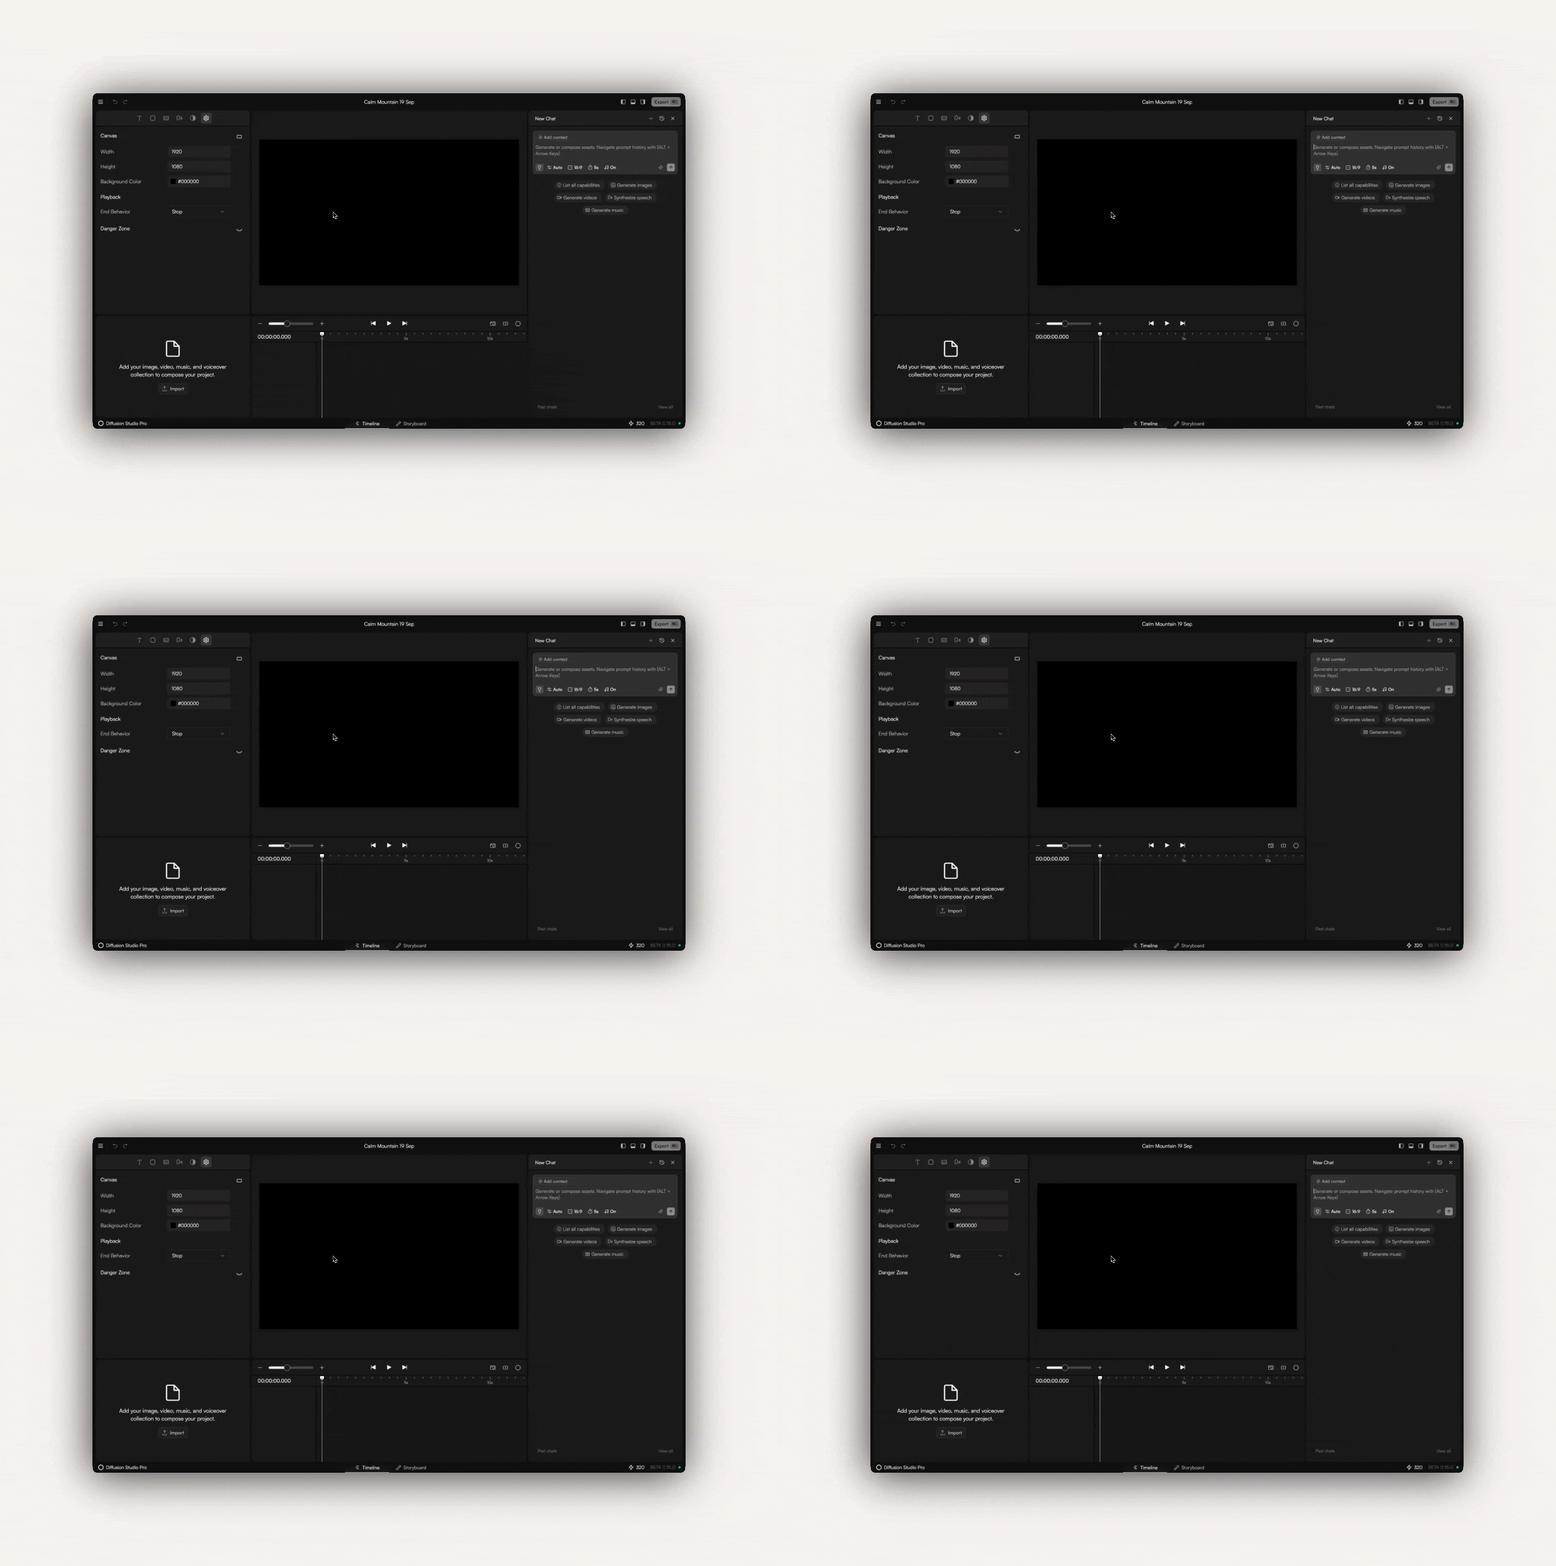
Let's jump into the editing UI by creating a new project.

<div style={{ margin: "16px 0", borderRadius: 12, overflow: "hidden" }}>
  <img src="https://mintcdn.com/diffusionstudioinc/Xmlu7mv-Uw3R4E3B/assets/welcome/timeline.gif?s=77ce695710bbb551556ce4ba9b42e18c" alt="Backup folder demo" style={{ width: "100%", height: "auto", display: "block" }} width="1608" height="1080" data-path="assets/welcome/timeline.gif" />
</div>

## Interface Overview

The Diffusion Studio Pro interface is organized into 5 main panels, each serving a specific function:

<CardGroup cols={2}>
  <Card title="Upper Left Panel" icon="wrench" href="#upper-left-panel">
    Common video editing tools such as transitions, captions, shapes, and more
  </Card>

  <Card title="Lower Left Panel" icon="folder" href="#lower-left-panel">
    The media panel, where all assets for your video are stored
  </Card>

  <Card title="Top Center Panel" icon="tv" href="#top-center-panel">
    The canvas, showing the current state of your composition; it can be panned and repositioned
  </Card>

  <Card title="Bottom Center Panel" icon="clock" href="#bottom-center-panel">
    A non-linear timeline that supports an infinite number of layers and clips
  </Card>

  <Card title="Right" icon="comment" href="#right">
    A chat sidebar for generating assets or manipulating the composition
  </Card>
</CardGroup>

<div style={{ margin: "16px 0", borderRadius: 12, overflow: "hidden" }}>
  <img src="https://mintcdn.com/diffusionstudioinc/Xmlu7mv-Uw3R4E3B/assets/welcome/collapse_bars.gif?s=d63abeda5443862377c0582d5fbafd0b" alt="Collaps sidebar demo" style={{ width: "100%", height: "auto", display: "block" }} width="1072" height="720" data-path="assets/welcome/collapse_bars.gif" />
</div>

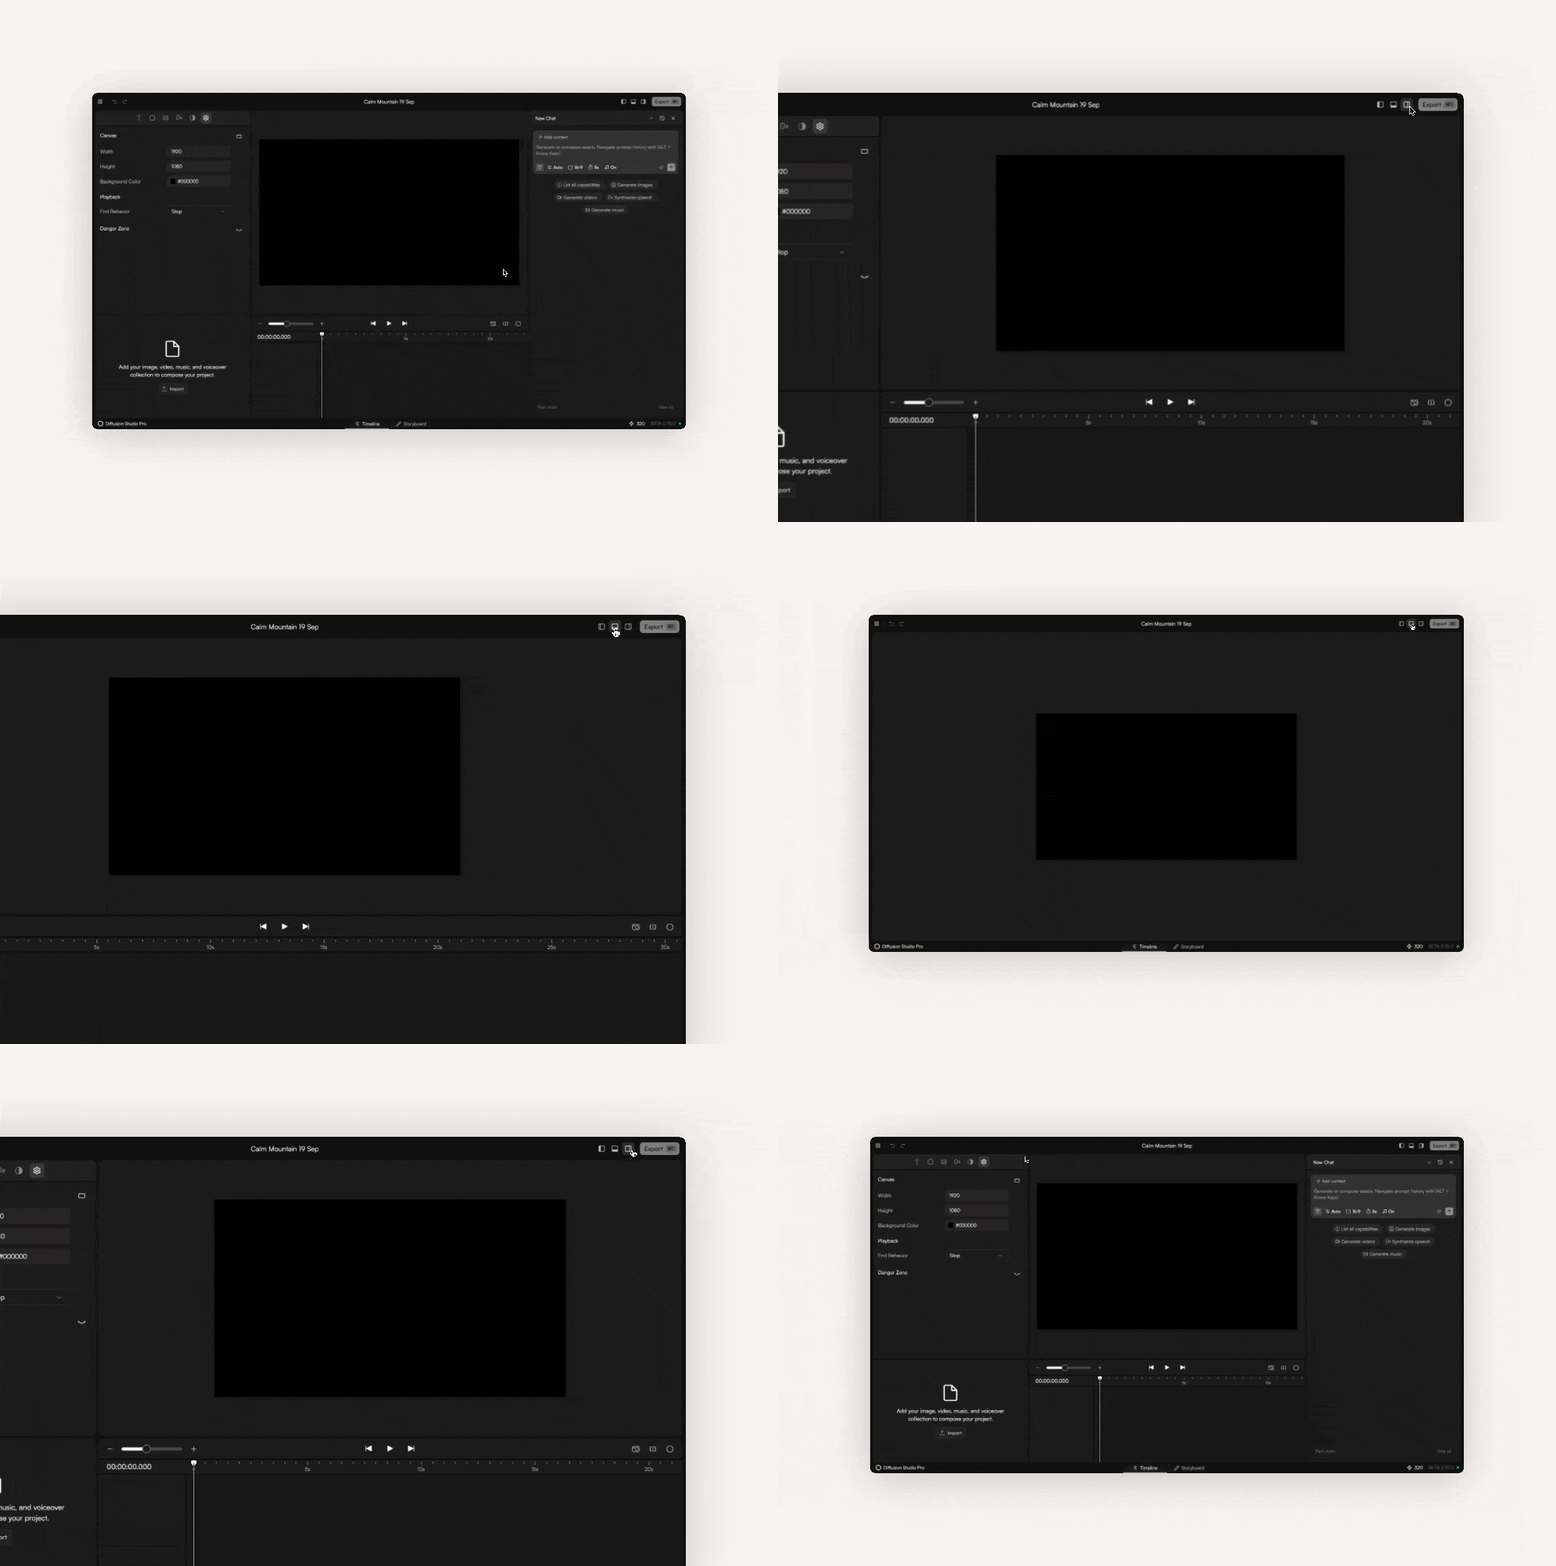
The chat, timeline, and edit panels can be hidden anytime for a better timeline experience.

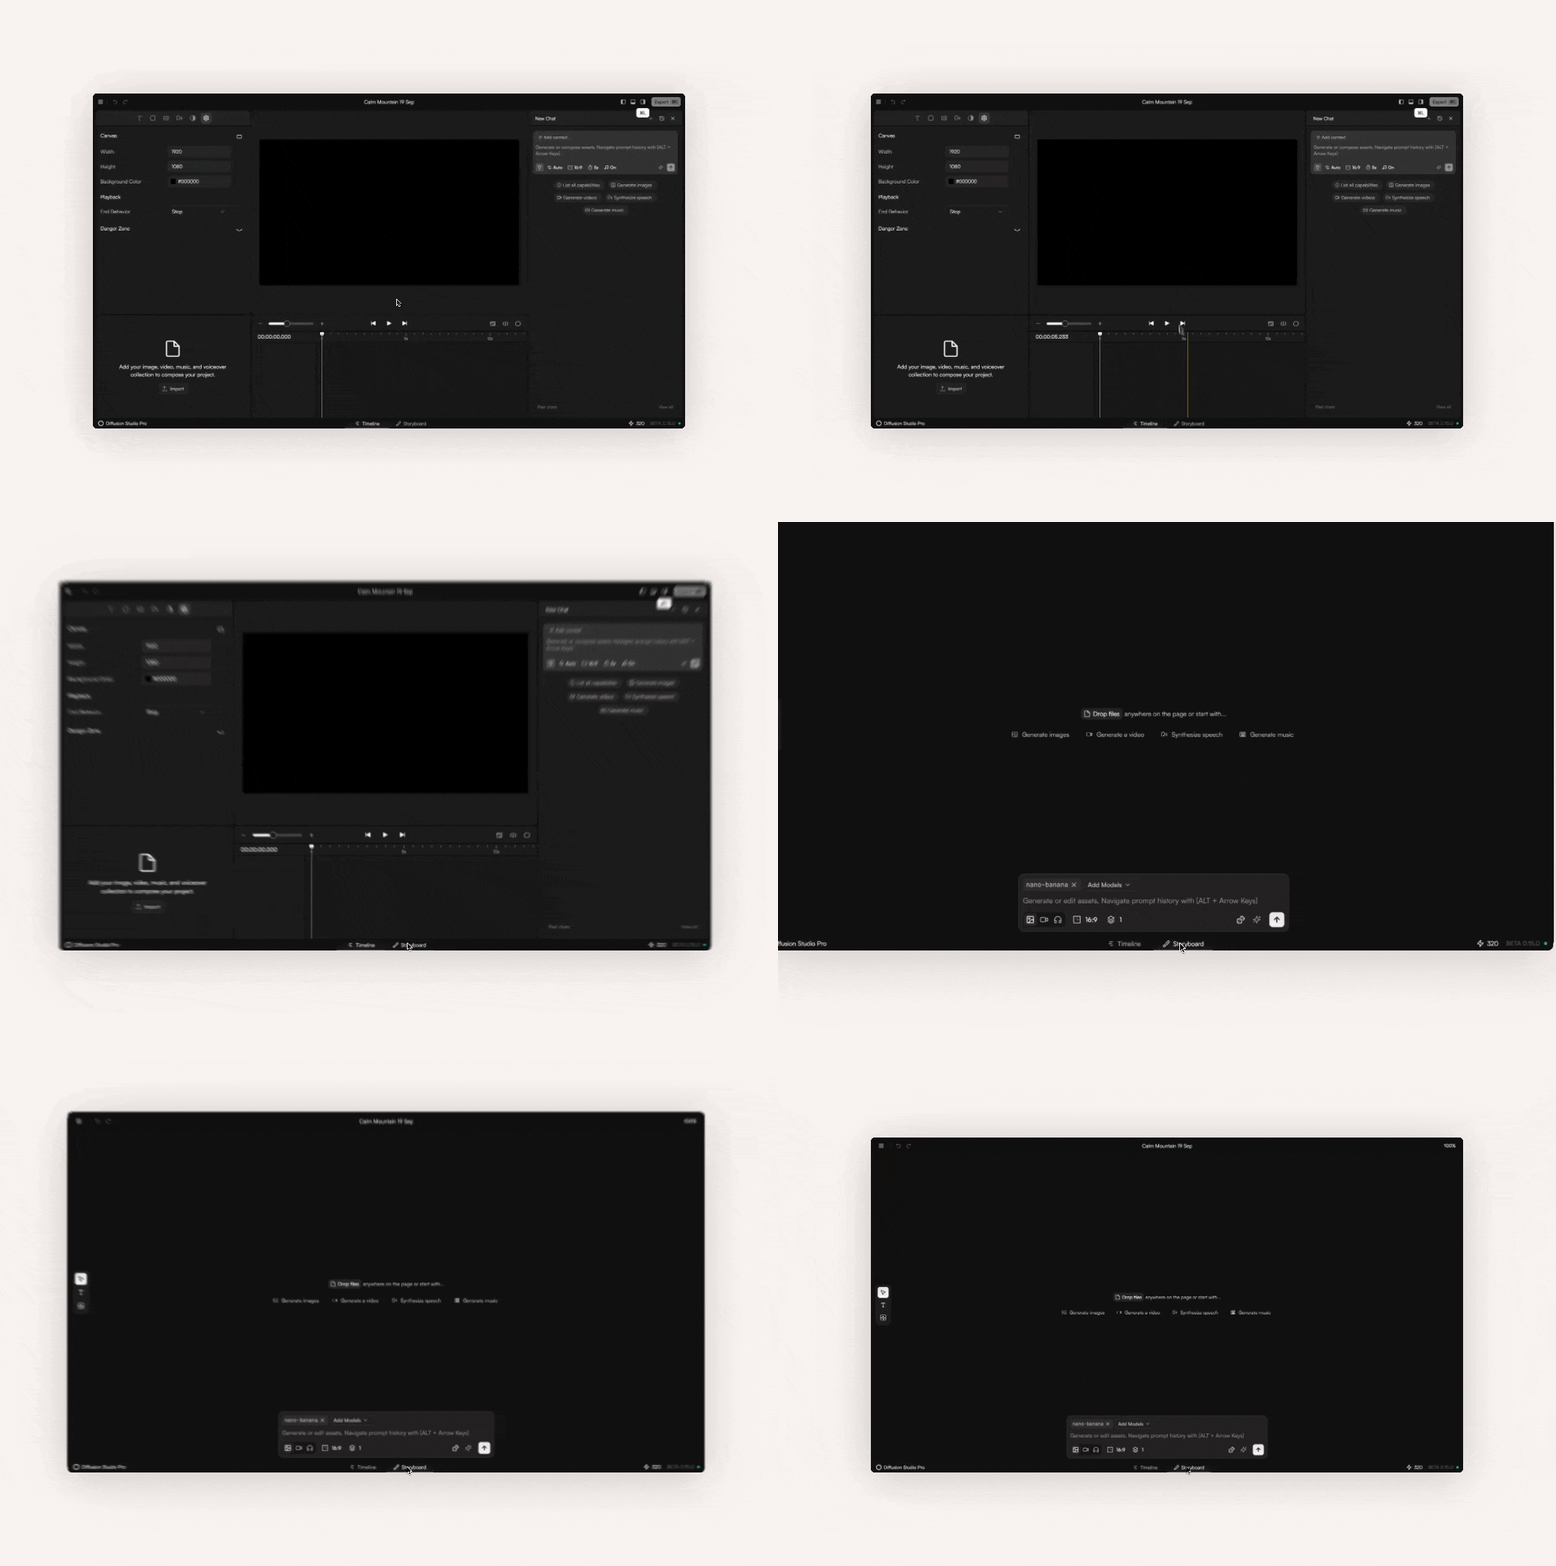
In the status bar, you'll also find the option to switch to the canvas view.

<div style={{ margin: "16px 0", borderRadius: 12, overflow: "hidden" }}>
  <img src="https://mintcdn.com/diffusionstudioinc/Xmlu7mv-Uw3R4E3B/assets/welcome/switch_canvas.gif?s=5cc3707689db997a6fe39e018cd478aa" alt="Canvas tab demo" style={{ width: "100%", height: "auto", display: "block" }} width="1072" height="720" data-path="assets/welcome/switch_canvas.gif" />
</div>

## When to Use Which View?

<CardGroup cols={2}>
  <Card title="Canvas View" icon="brush" href="#canvas-view">
    Best for generating single assets (images, videos, music) in parallel. Chats are non-blocking, i.e. you can submit prompts without waiting for the result of the previous prompt. The canvas also lets you organize assets in whatever structure fits your project.
  </Card>

  <Card title="Timeline View" icon="film" href="#timeline-view">
    Best for composing assets into a full video. The chat can access the current state of the composition and supports multi-step instructions.
  </Card>
</CardGroup>

> **Rule of thumb:** use the timeline for agentic workflows and the canvas for single-asset generation.

## Next Steps

<Steps>
  <Step title="Set up your backup folder">
    Choose a location on your computer where all generated assets will be stored.
  </Step>

  <Step title="Create your first project">
    Start a new project to explore the interface and begin creating content.
  </Step>

  <Step title="Learn about the Chat Box">
    Discover how to use AI-powered generation through the chat interface.
    <Link href="chat-box">Learn more about Chat Box</Link>
  </Step>

  <Step title="Explore Examples">
    Check out our examples to see what's possible with Diffusion Studio Pro.
    <Link href="examples/create-game-trailer">Create a Game Trailer</Link>
  </Step>
</Steps>