> ## Documentation Index
> Fetch the complete documentation index at: https://learn.diffusion.studio/llms.txt
> Use this file to discover all available pages before exploring further.
# Timeline
> Arrange, edit, and refine your media with precision using the timeline.
 ## Layout
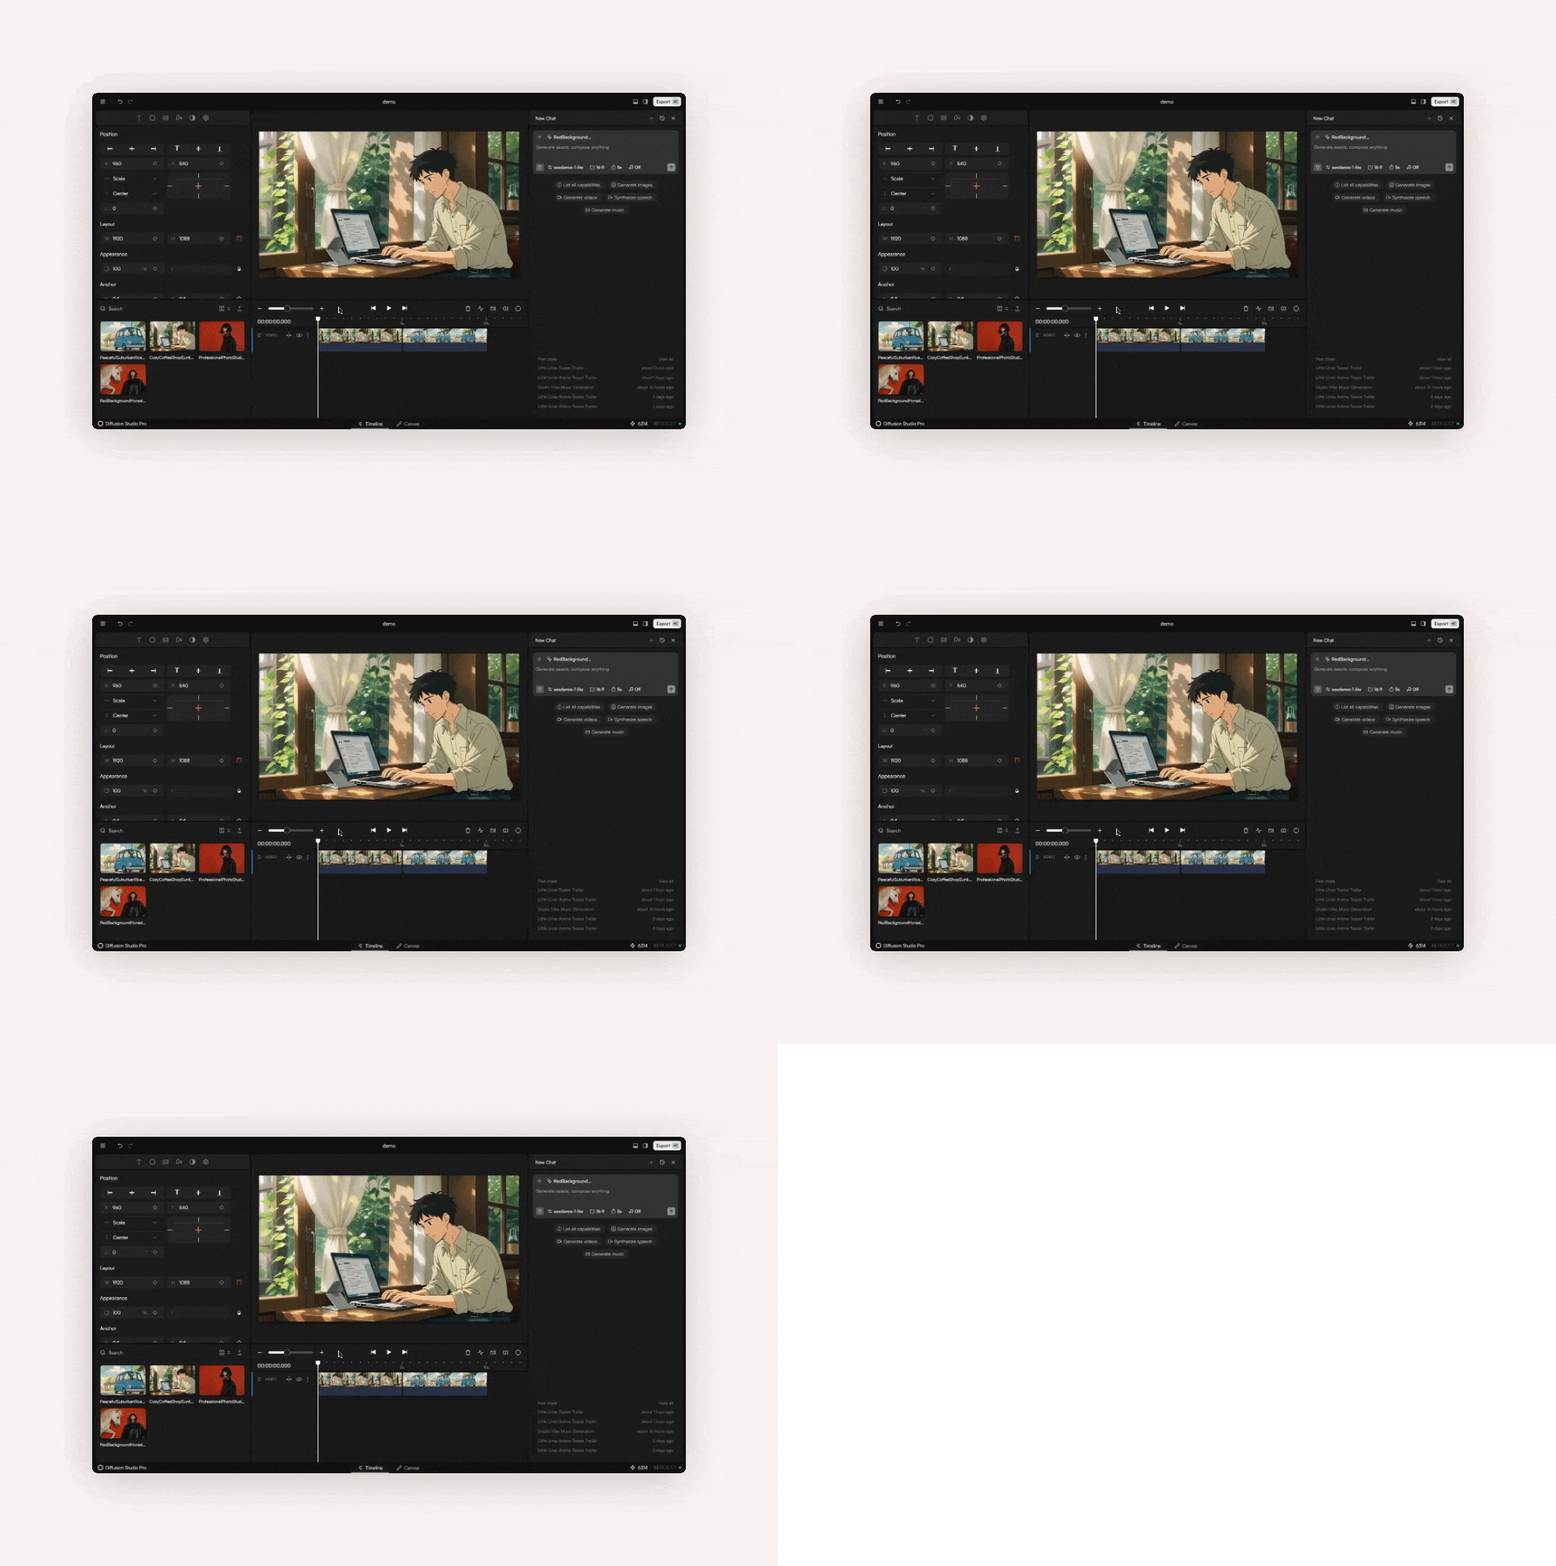
Video tracks sit at the top, audio tracks at the bottom. Each track shows clips with thumbnails and duration so you can see your sequence clearly.
The ruler shows seconds and frames. Click anywhere on it to move the playhead to that time.
The playhead marks the current position. Drag it to scrub or place new clips exactly where you want them.
***
## Media Pool
### Adding Assets
There are three ways to move assets into the Media Pool:
## Layout
Video tracks sit at the top, audio tracks at the bottom. Each track shows clips with thumbnails and duration so you can see your sequence clearly.
The ruler shows seconds and frames. Click anywhere on it to move the playhead to that time.
The playhead marks the current position. Drag it to scrub or place new clips exactly where you want them.
***
## Media Pool
### Adding Assets
There are three ways to move assets into the Media Pool:
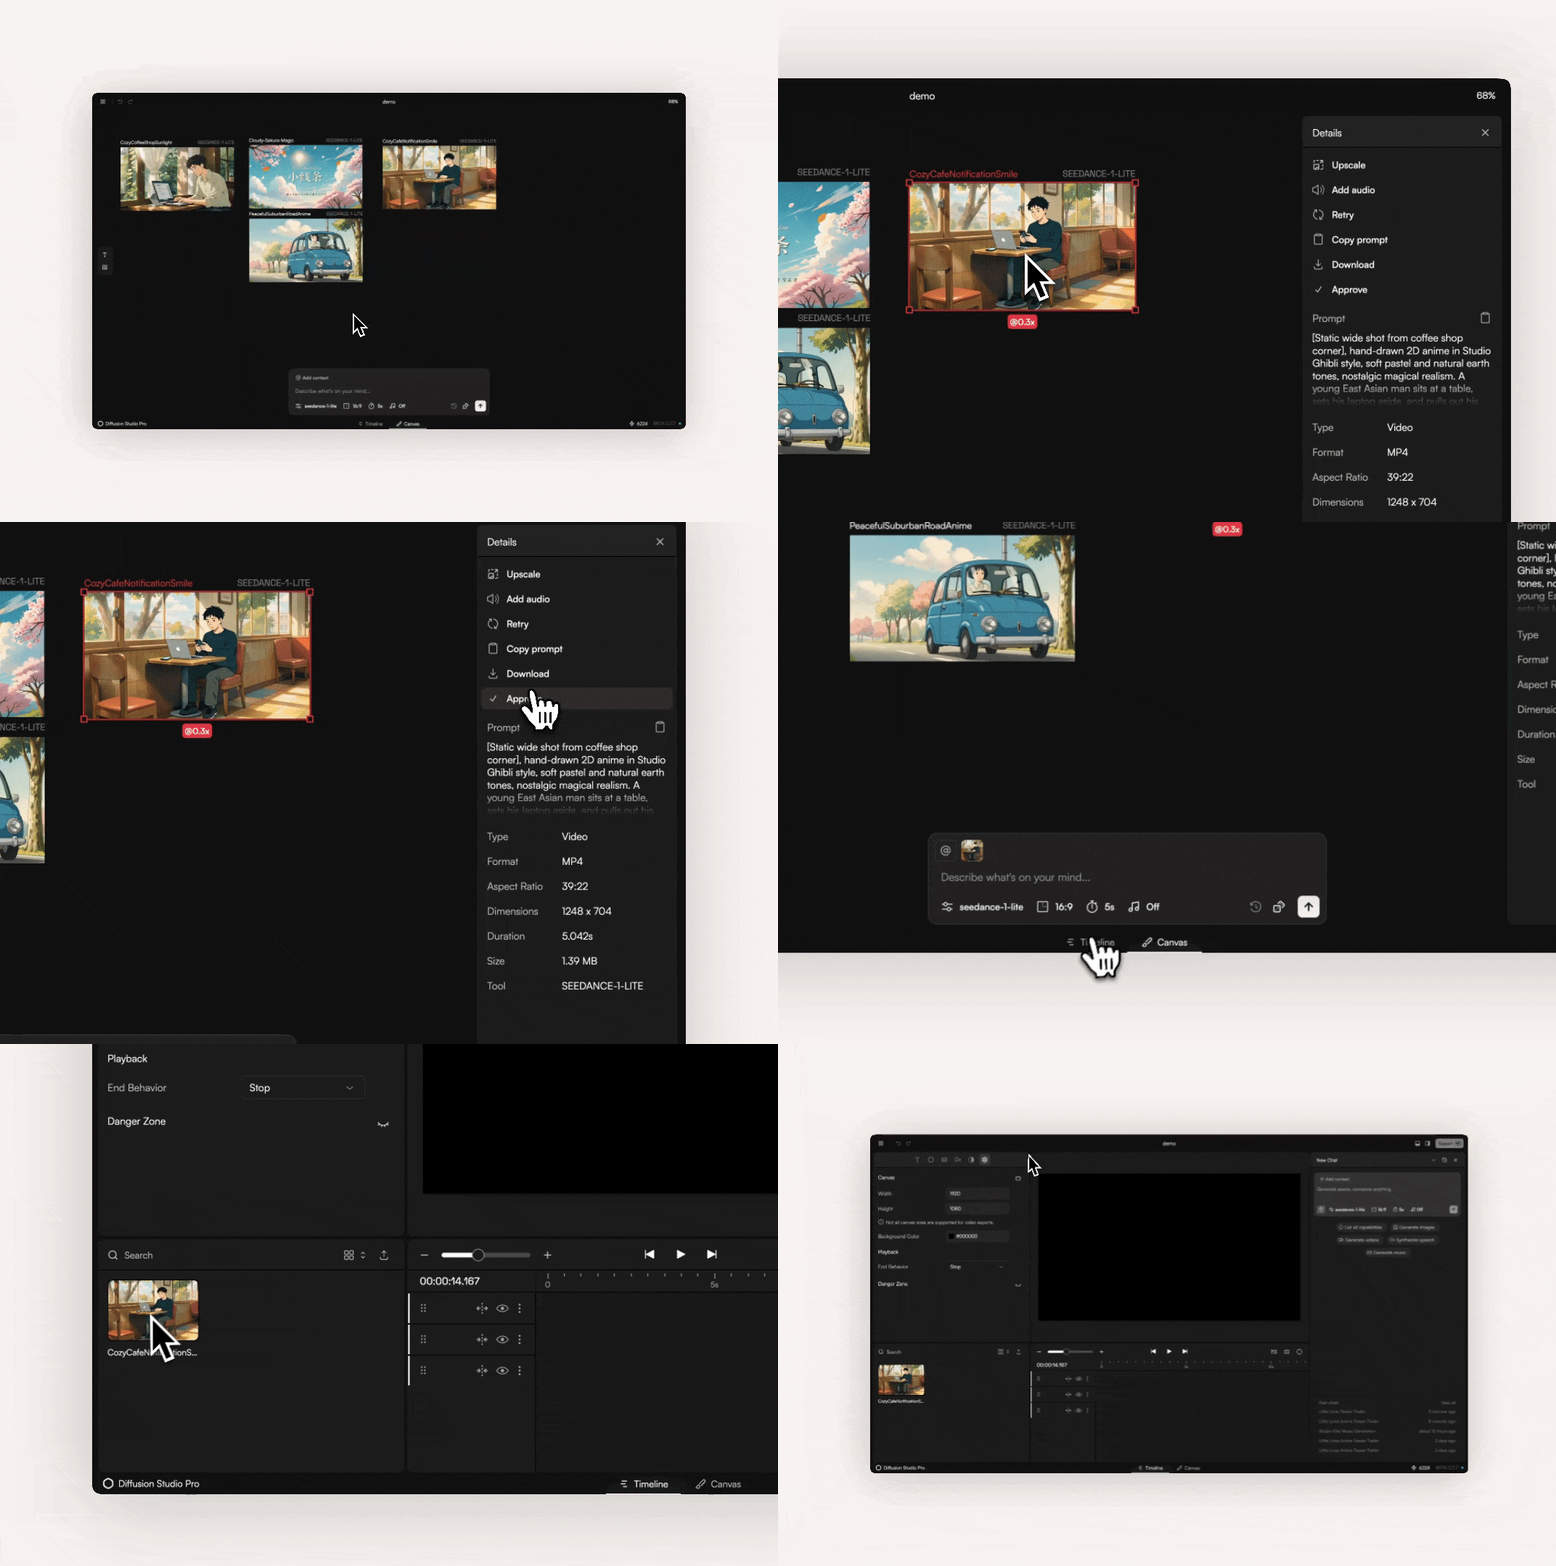 1. **From Canvas** – Click on an image or video in the Canvas, open the sidebar, and click **Approve**.
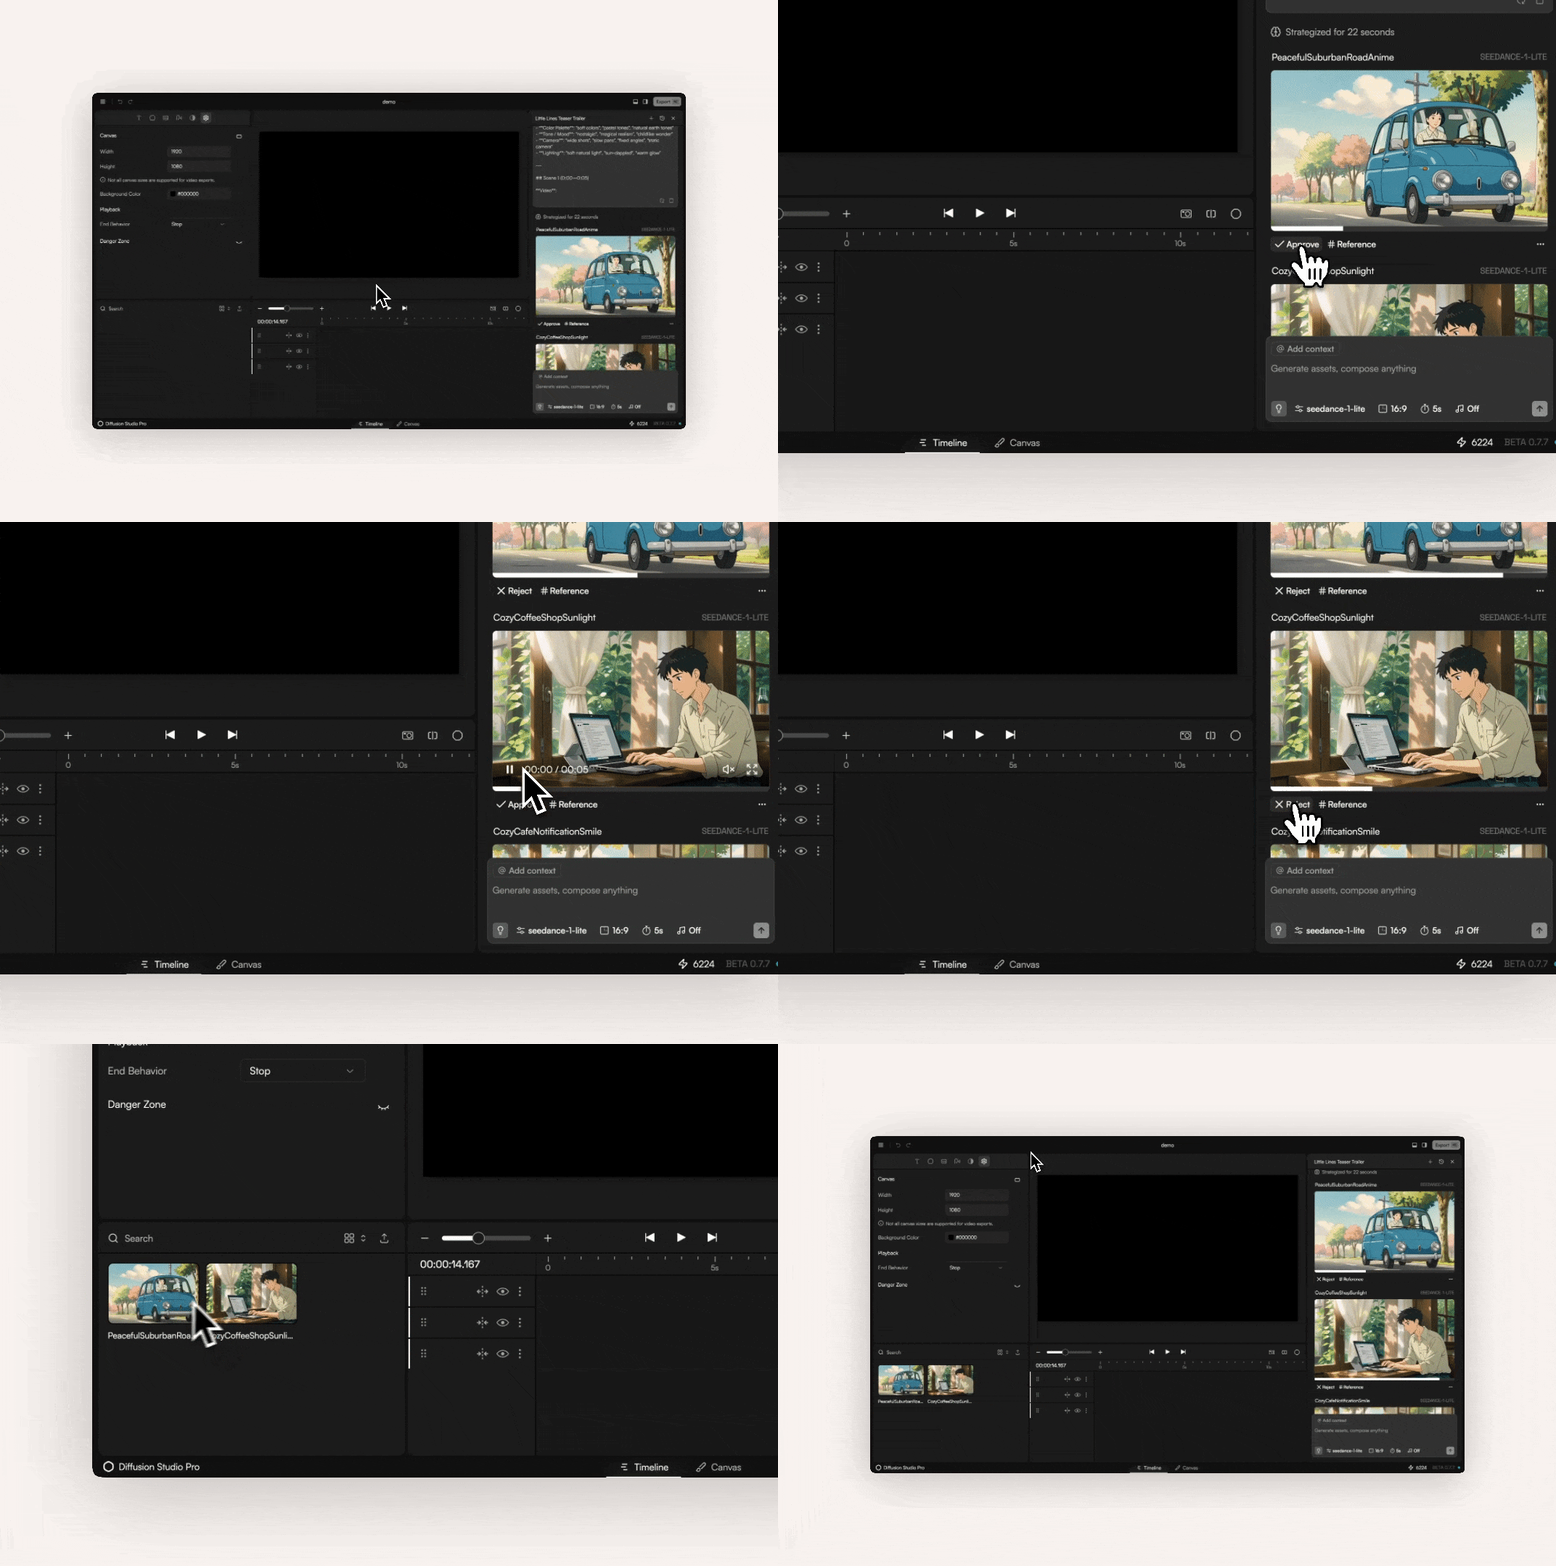 2. **From Chat** – On the Timeline page, generated media has an **Approve** button under it. Clicking it adds the asset.
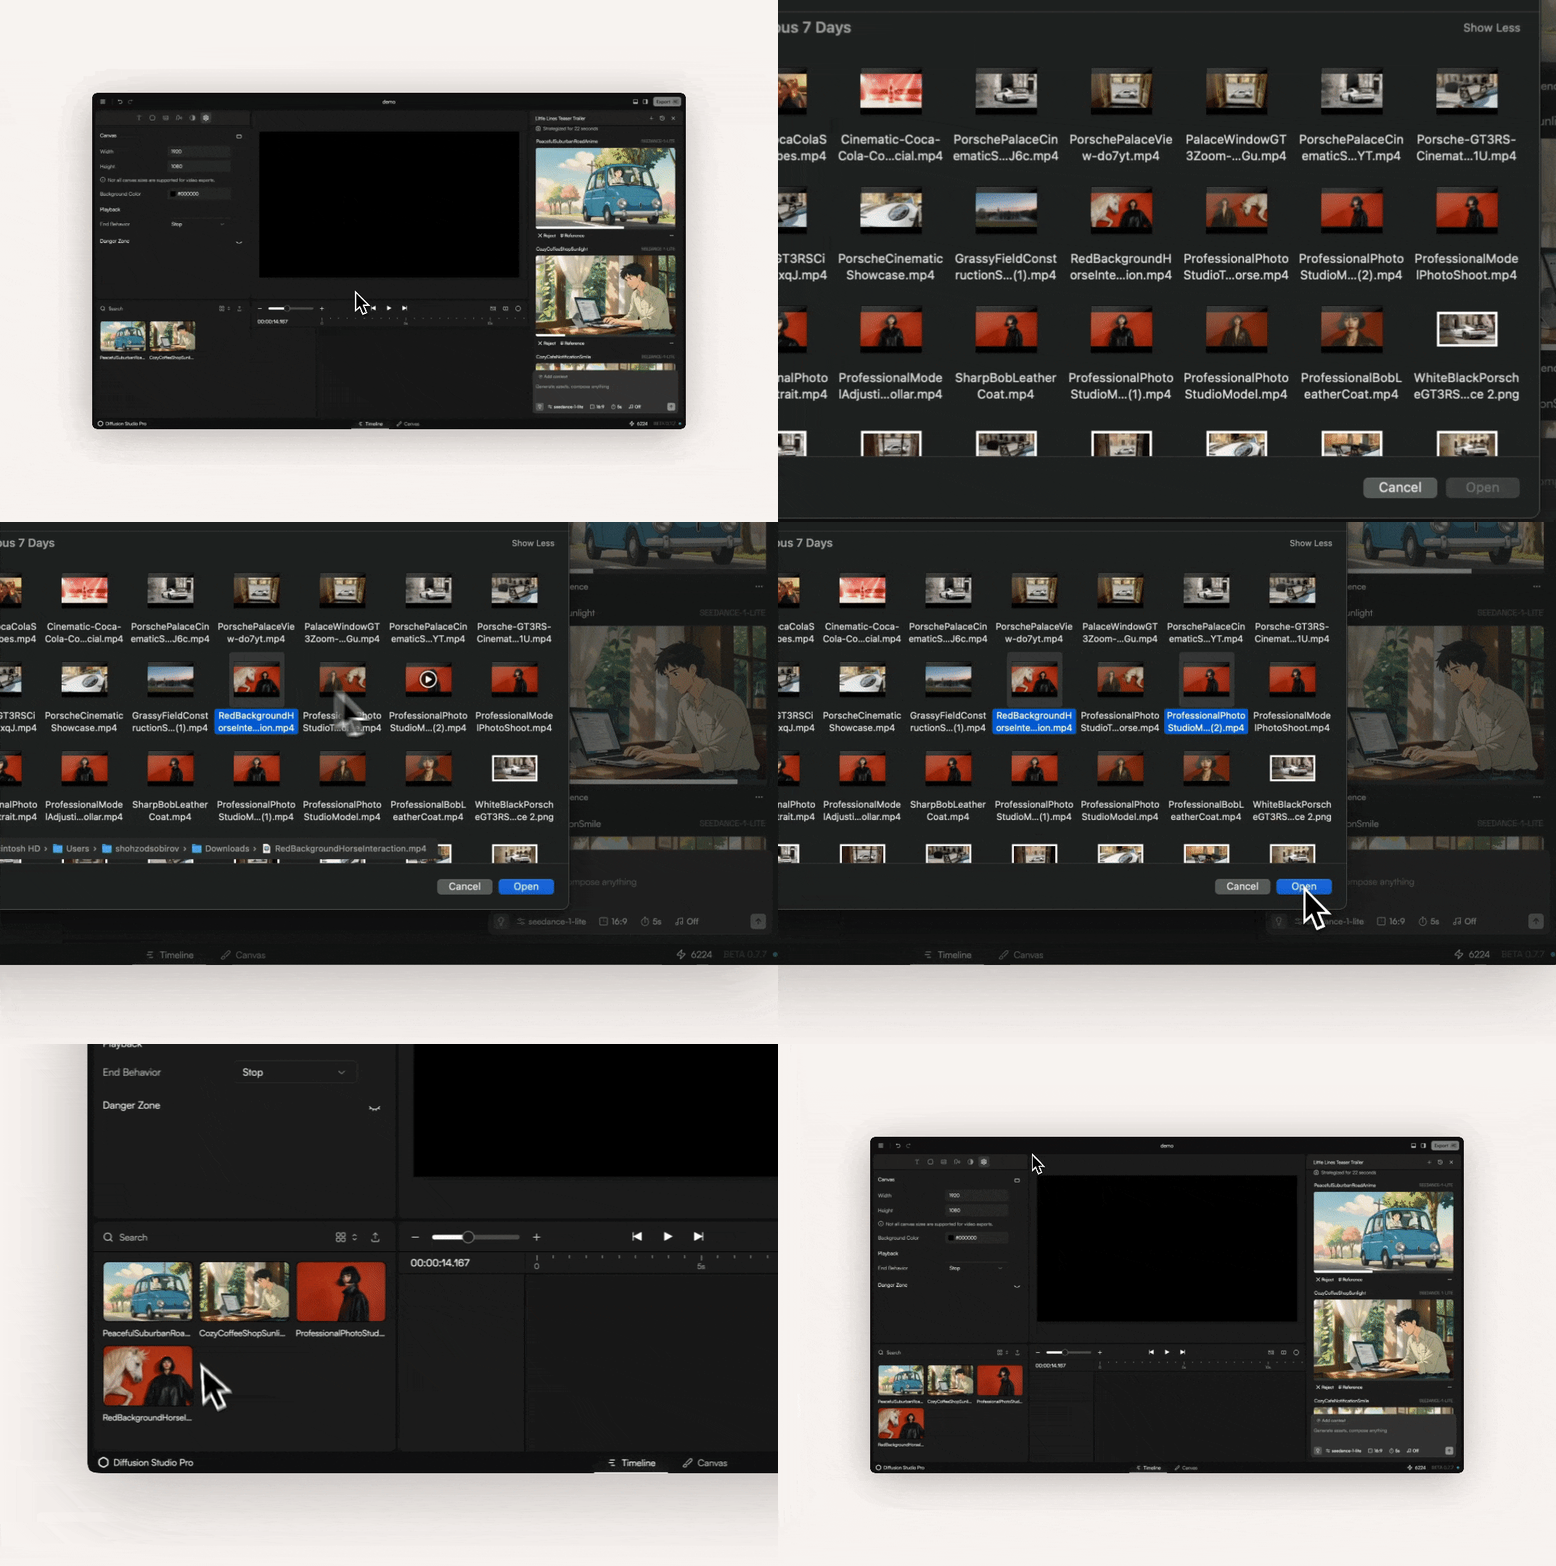 3. **From Computer** – Click the upload arrow at the top of the Media Pool and select your files.
### Deleting Assets
3. **From Computer** – Click the upload arrow at the top of the Media Pool and select your files.
### Deleting Assets
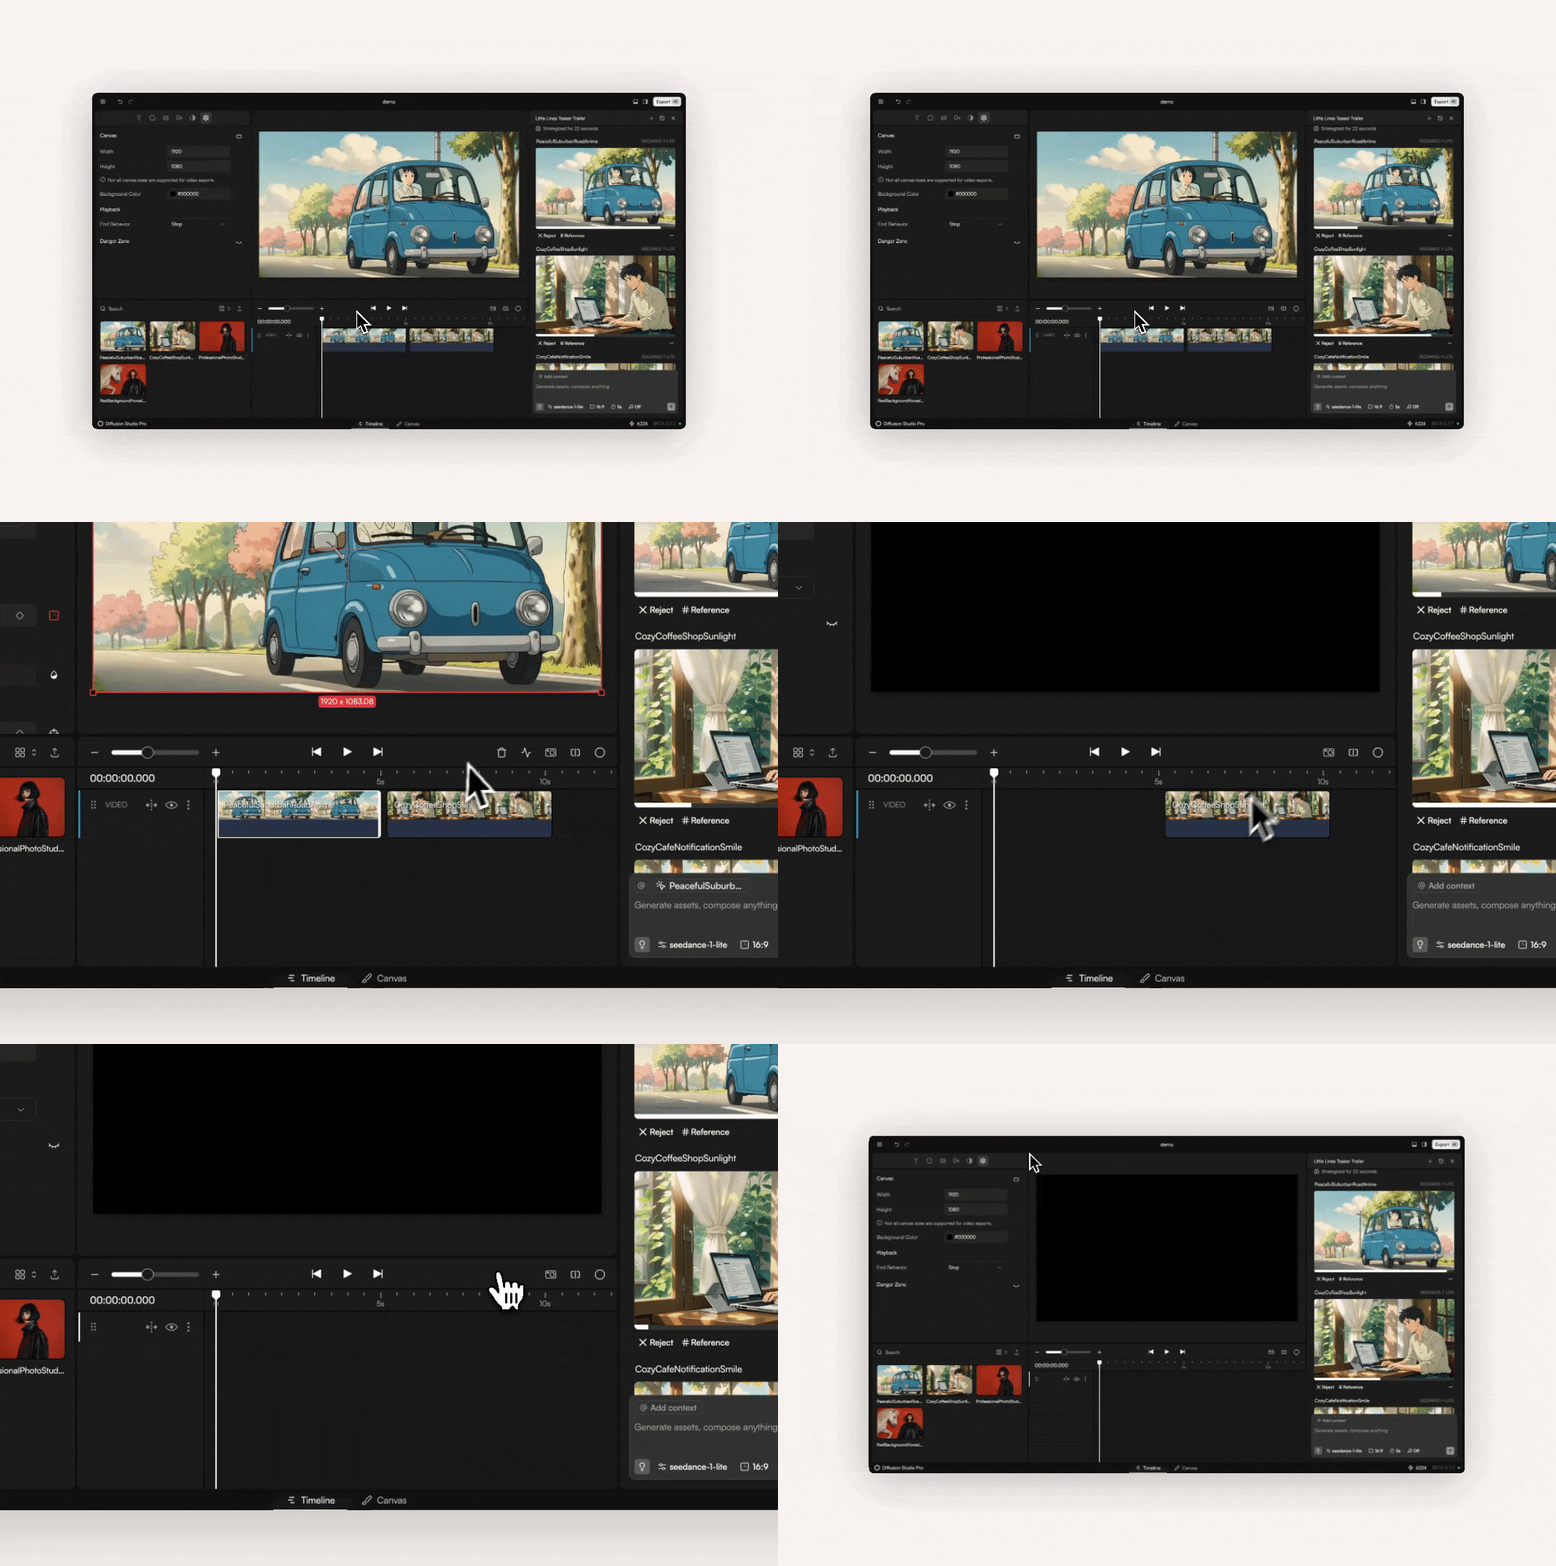 * **From Timeline** – Select a clip and press **Backspace** or click the trash icon.
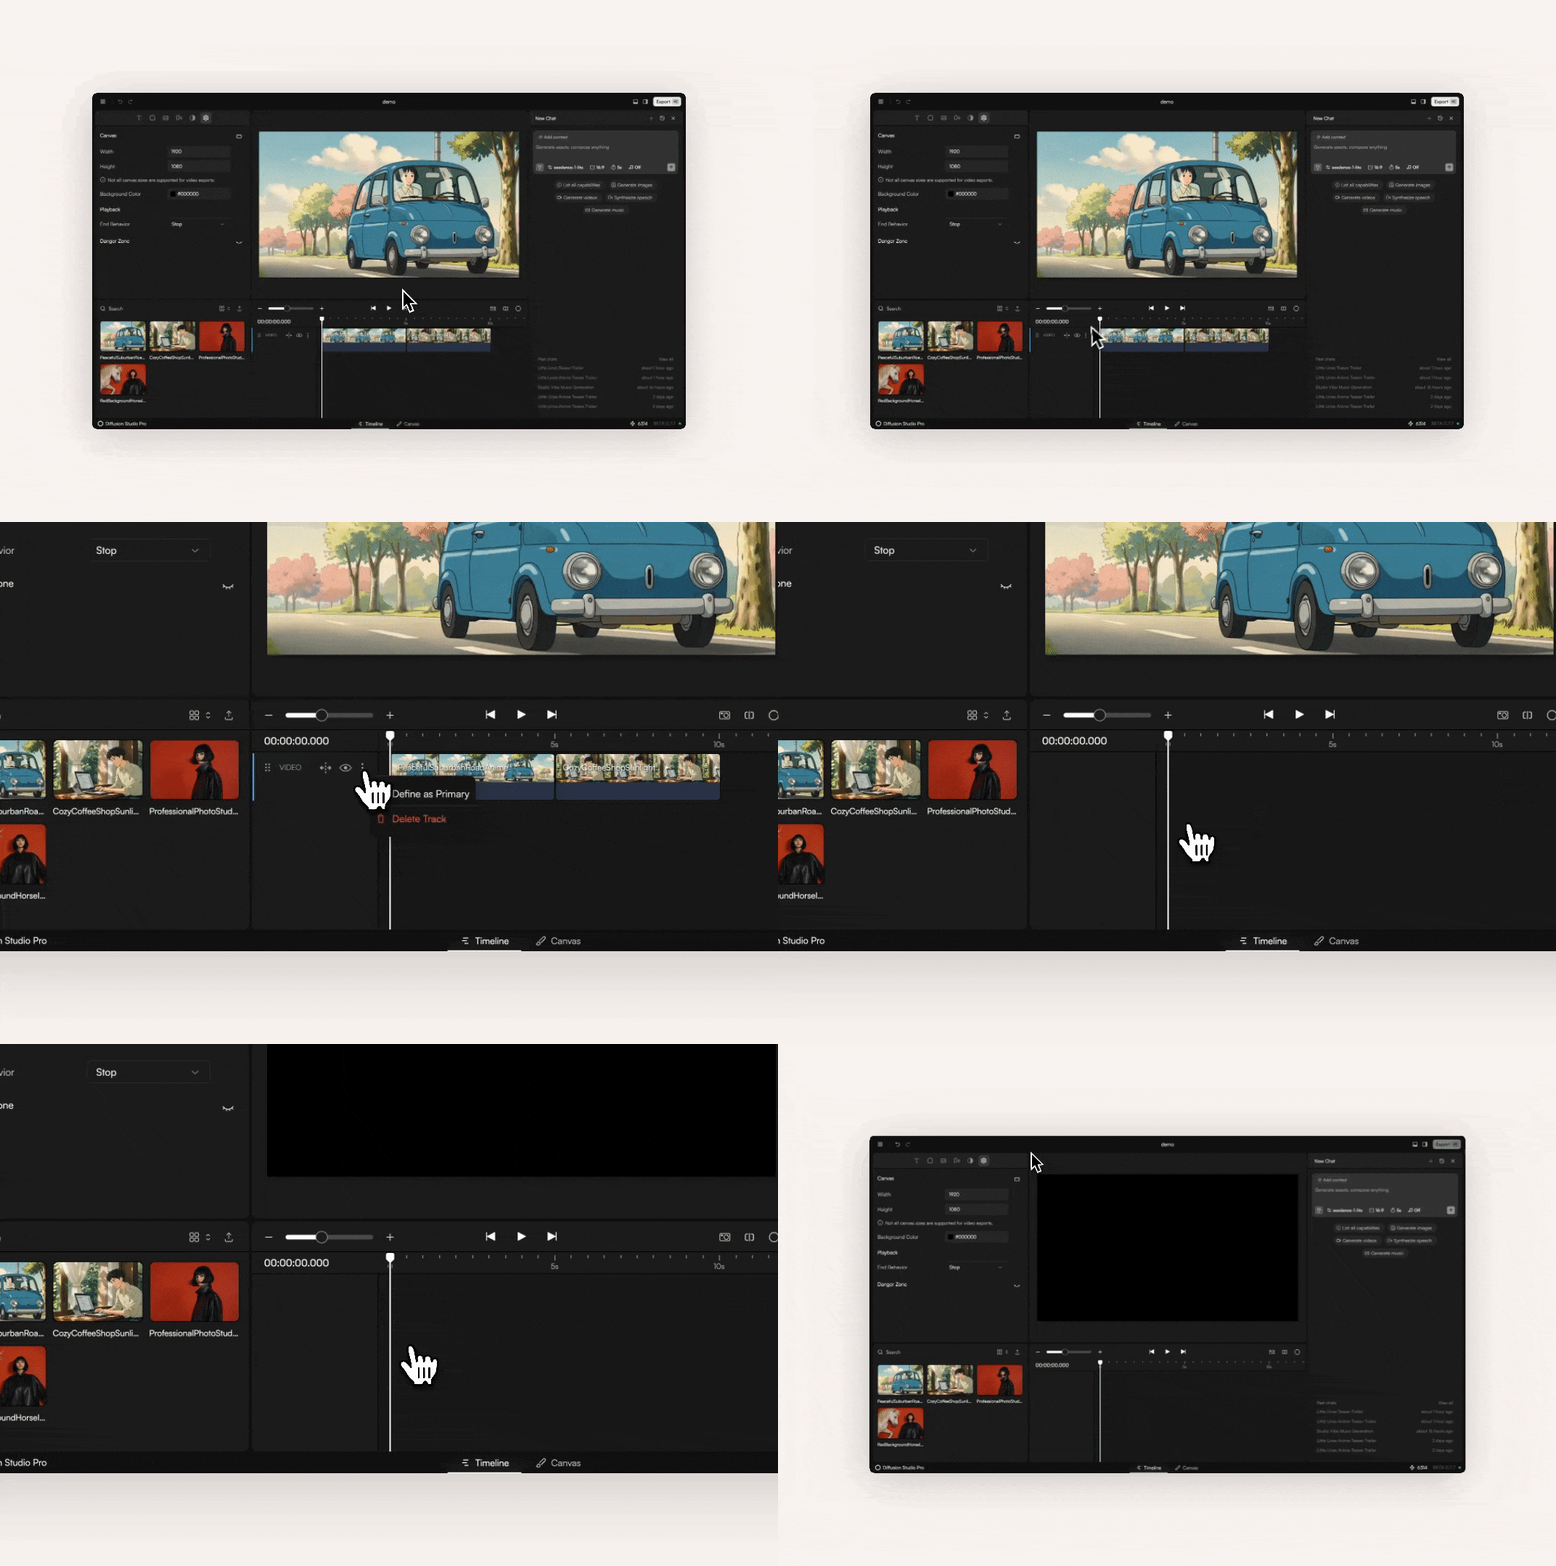 * **Delete a Track** – Open the track menu (⋮ icon) and choose **Delete track**.
* **From Media Pool** – Right-click an asset and select **Delete**.
* **From Canvas** – Select an element and press **Backspace**.
***
## Key Features
### Adding Clips
* **Delete a Track** – Open the track menu (⋮ icon) and choose **Delete track**.
* **From Media Pool** – Right-click an asset and select **Delete**.
* **From Canvas** – Select an element and press **Backspace**.
***
## Key Features
### Adding Clips
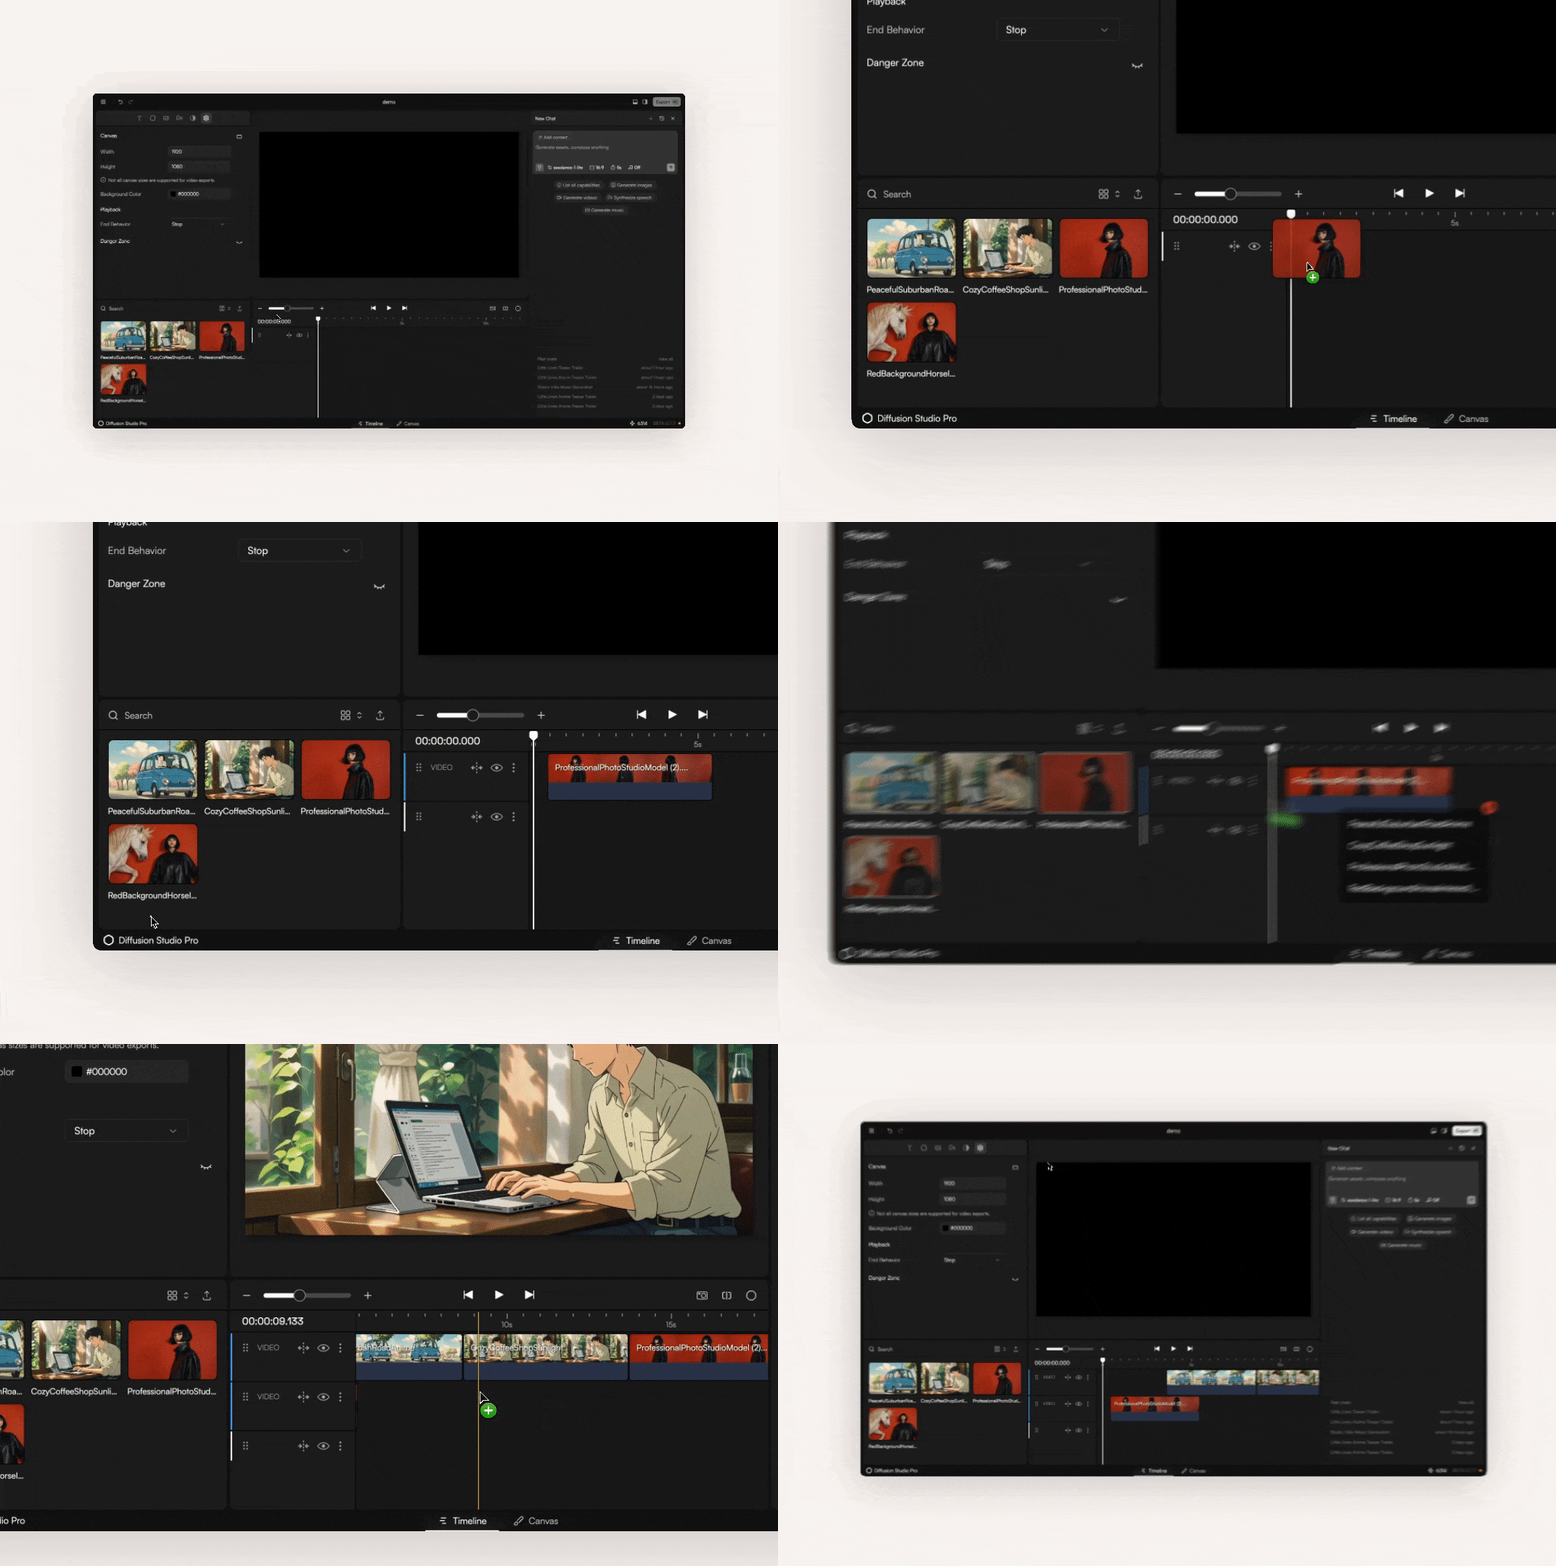 Drag clips from the Media Pool into the Timeline. You can move several files at once.
### Trimming & Splitting
Drag clips from the Media Pool into the Timeline. You can move several files at once.
### Trimming & Splitting
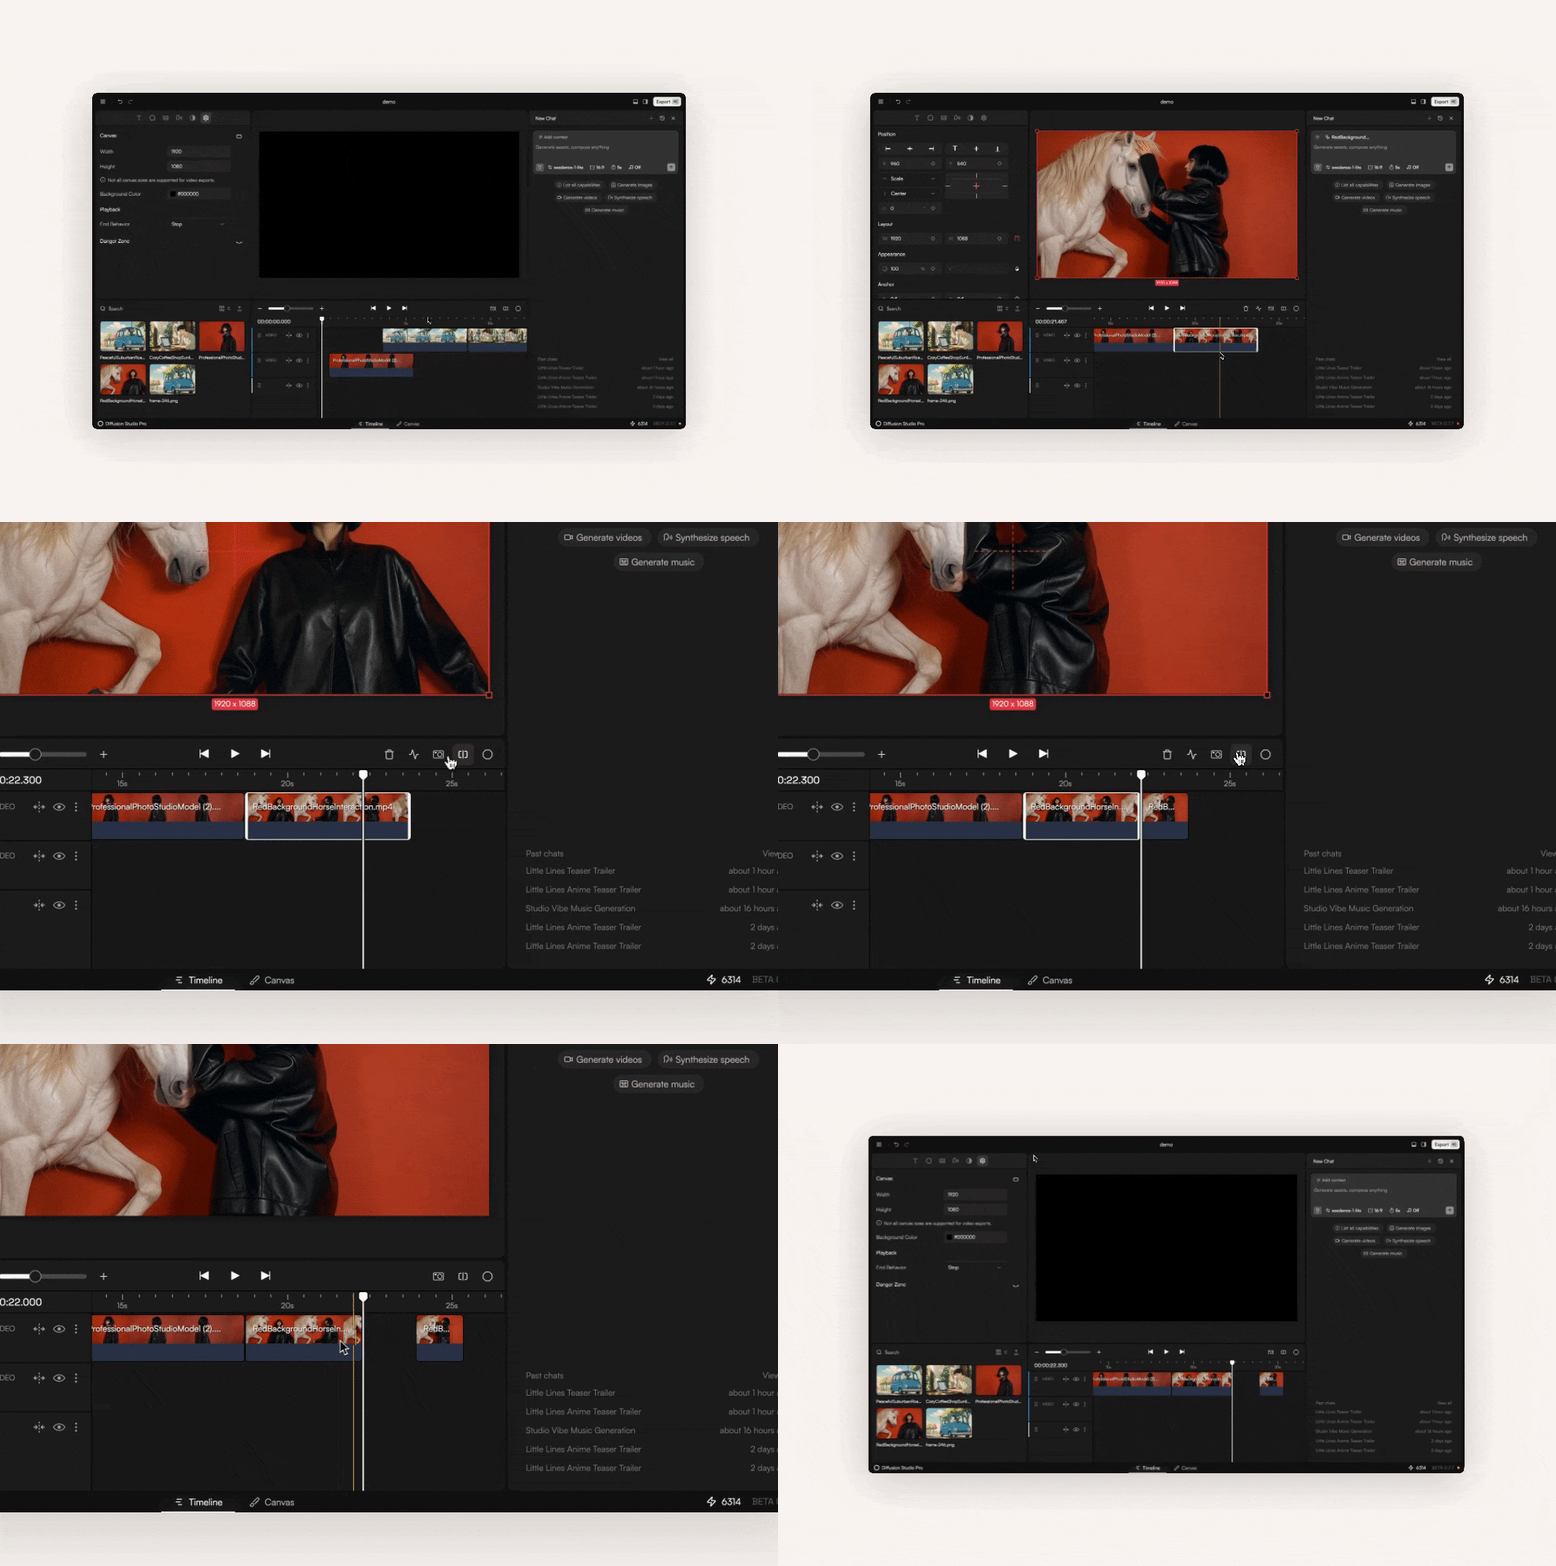 Drag a clip’s edge to trim. To split, place the playhead and click the scissors icon or press `Cmd + B`.
### Clip Properties
Drag a clip’s edge to trim. To split, place the playhead and click the scissors icon or press `Cmd + B`.
### Clip Properties
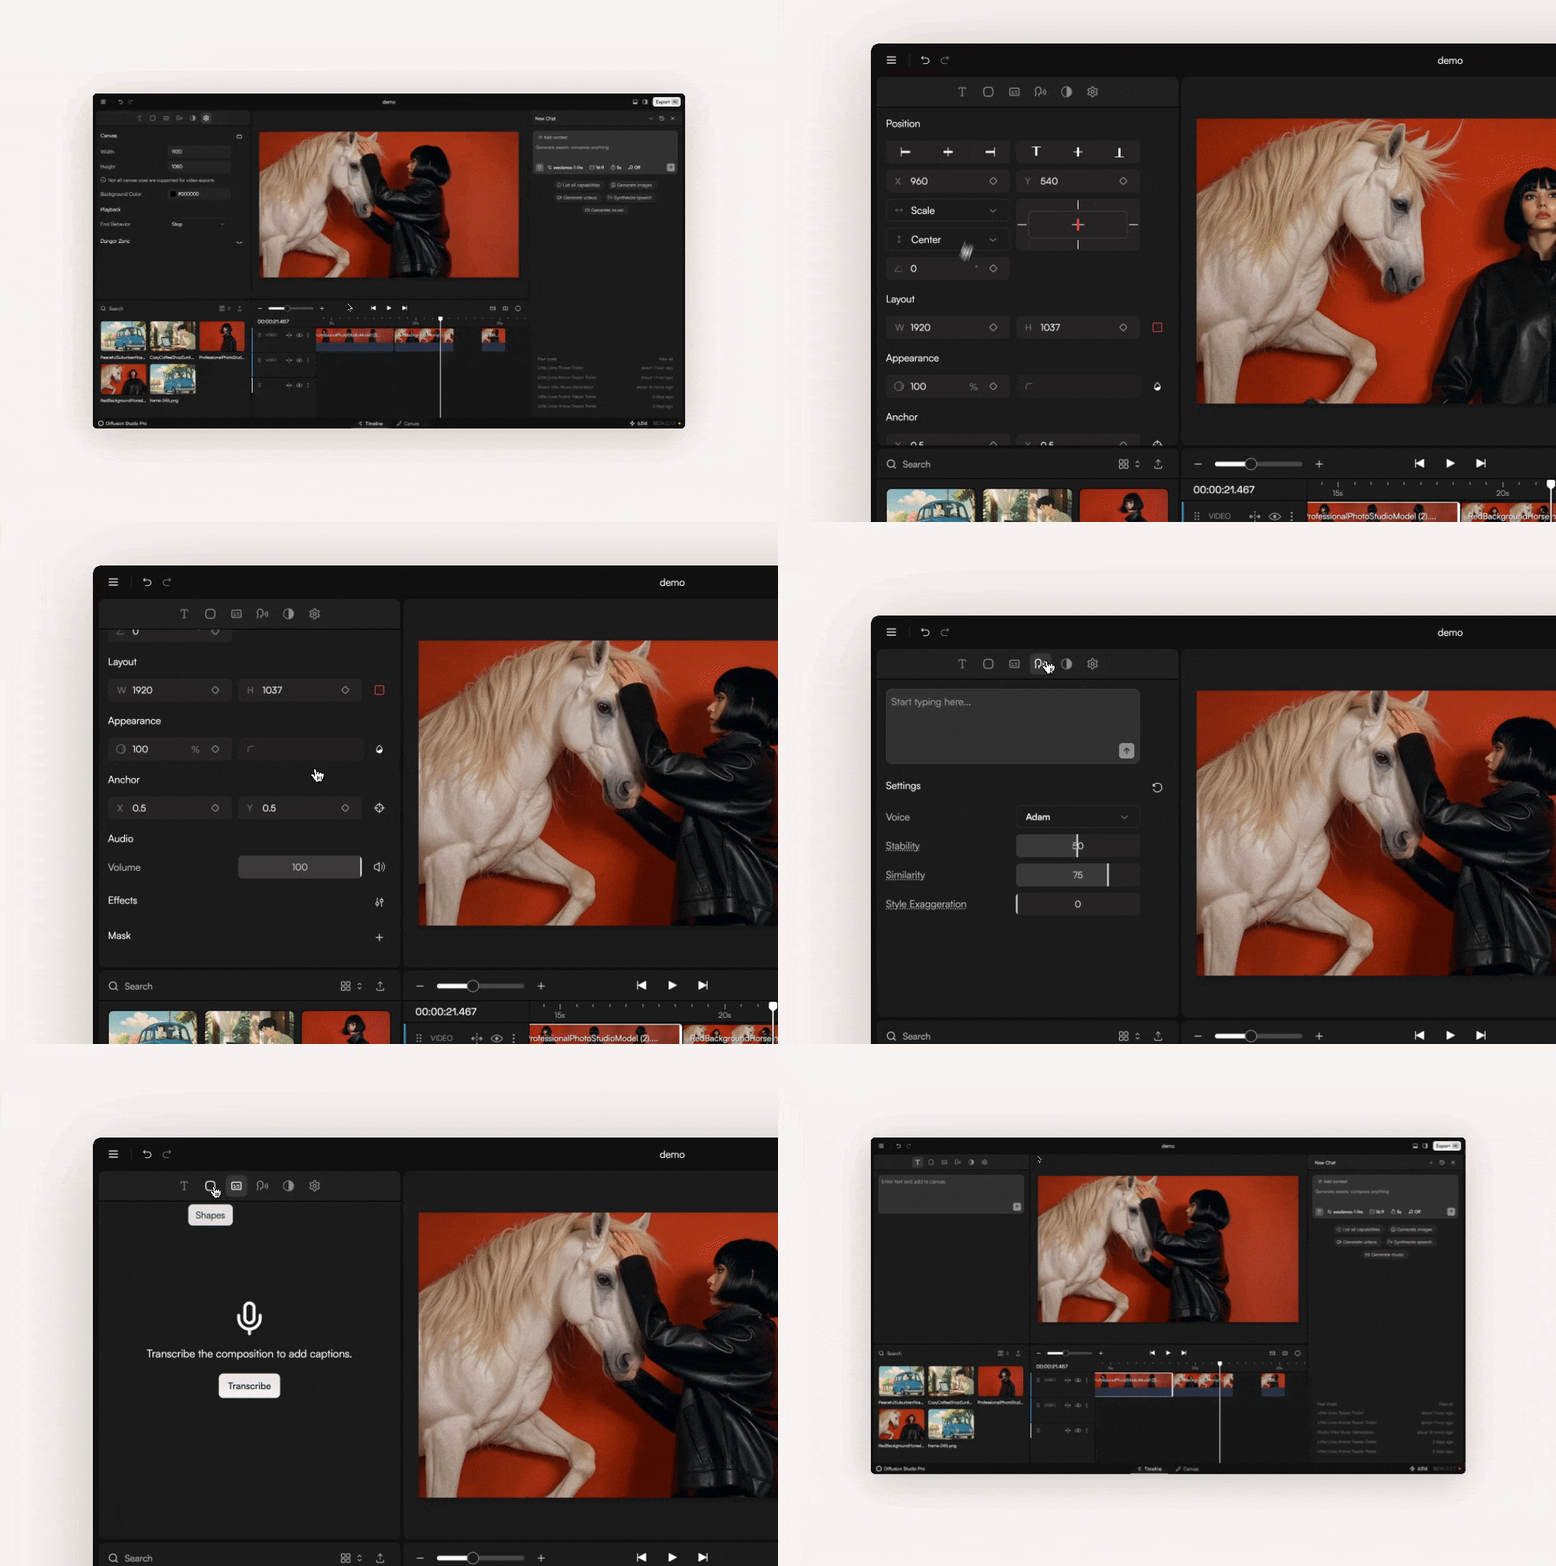 Select a clip to open its settings in the Config Panel. Adjust timing, scale, effects, and audio.
### Clip Actions
Select a clip to open its settings in the Config Panel. Adjust timing, scale, effects, and audio.
### Clip Actions
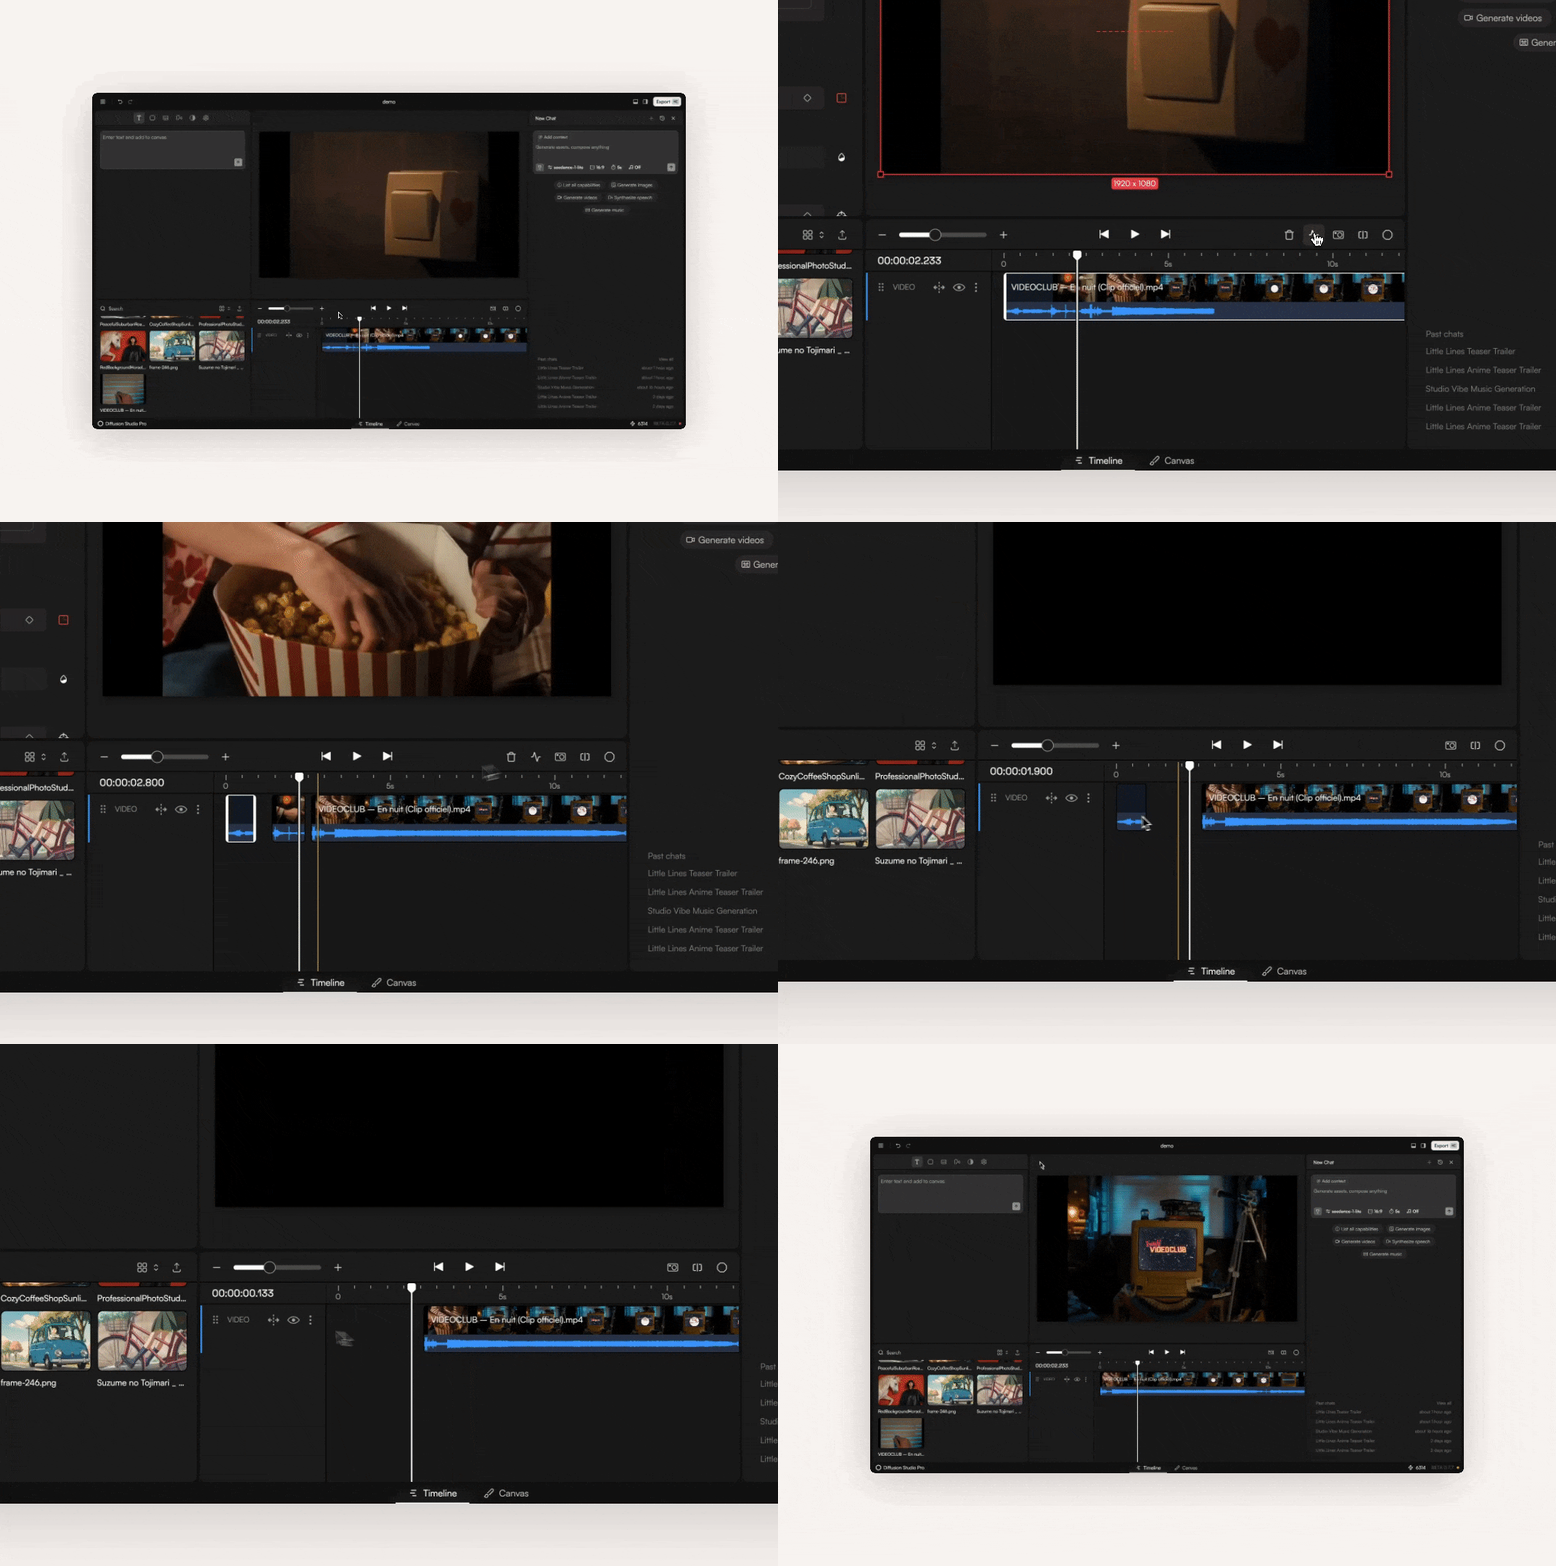 For audio, use **Silence Remove** to cut quiet sections automatically.
### Export Frame
For audio, use **Silence Remove** to cut quiet sections automatically.
### Export Frame
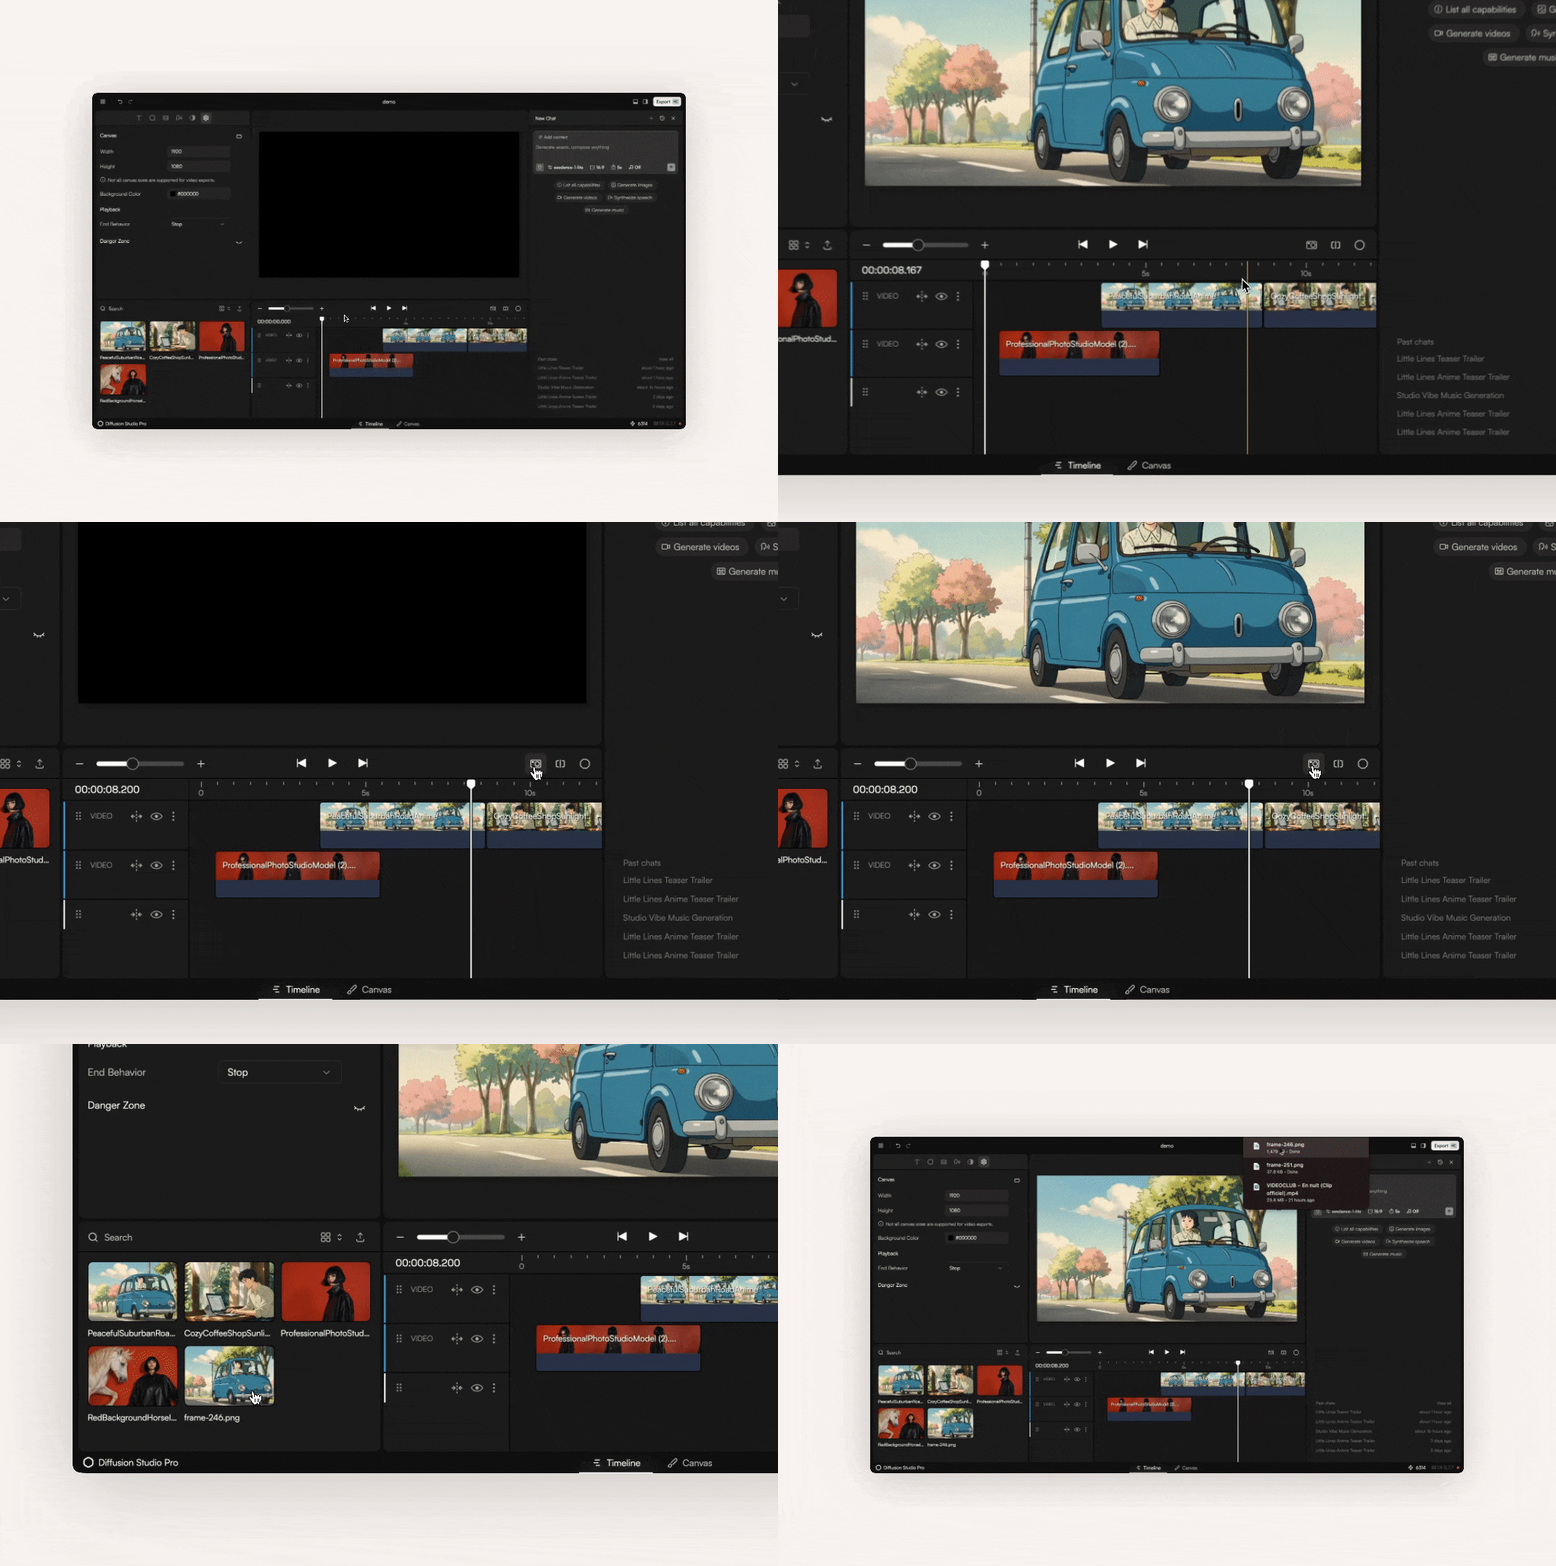 To export a frame, place a playhead and click the camera icon, frame will be directly exported and also added to the media pool.
***
## Track Controls
Each track has its own icons for managing visibility, gaps, and order:
To export a frame, place a playhead and click the camera icon, frame will be directly exported and also added to the media pool.
***
## Track Controls
Each track has its own icons for managing visibility, gaps, and order:
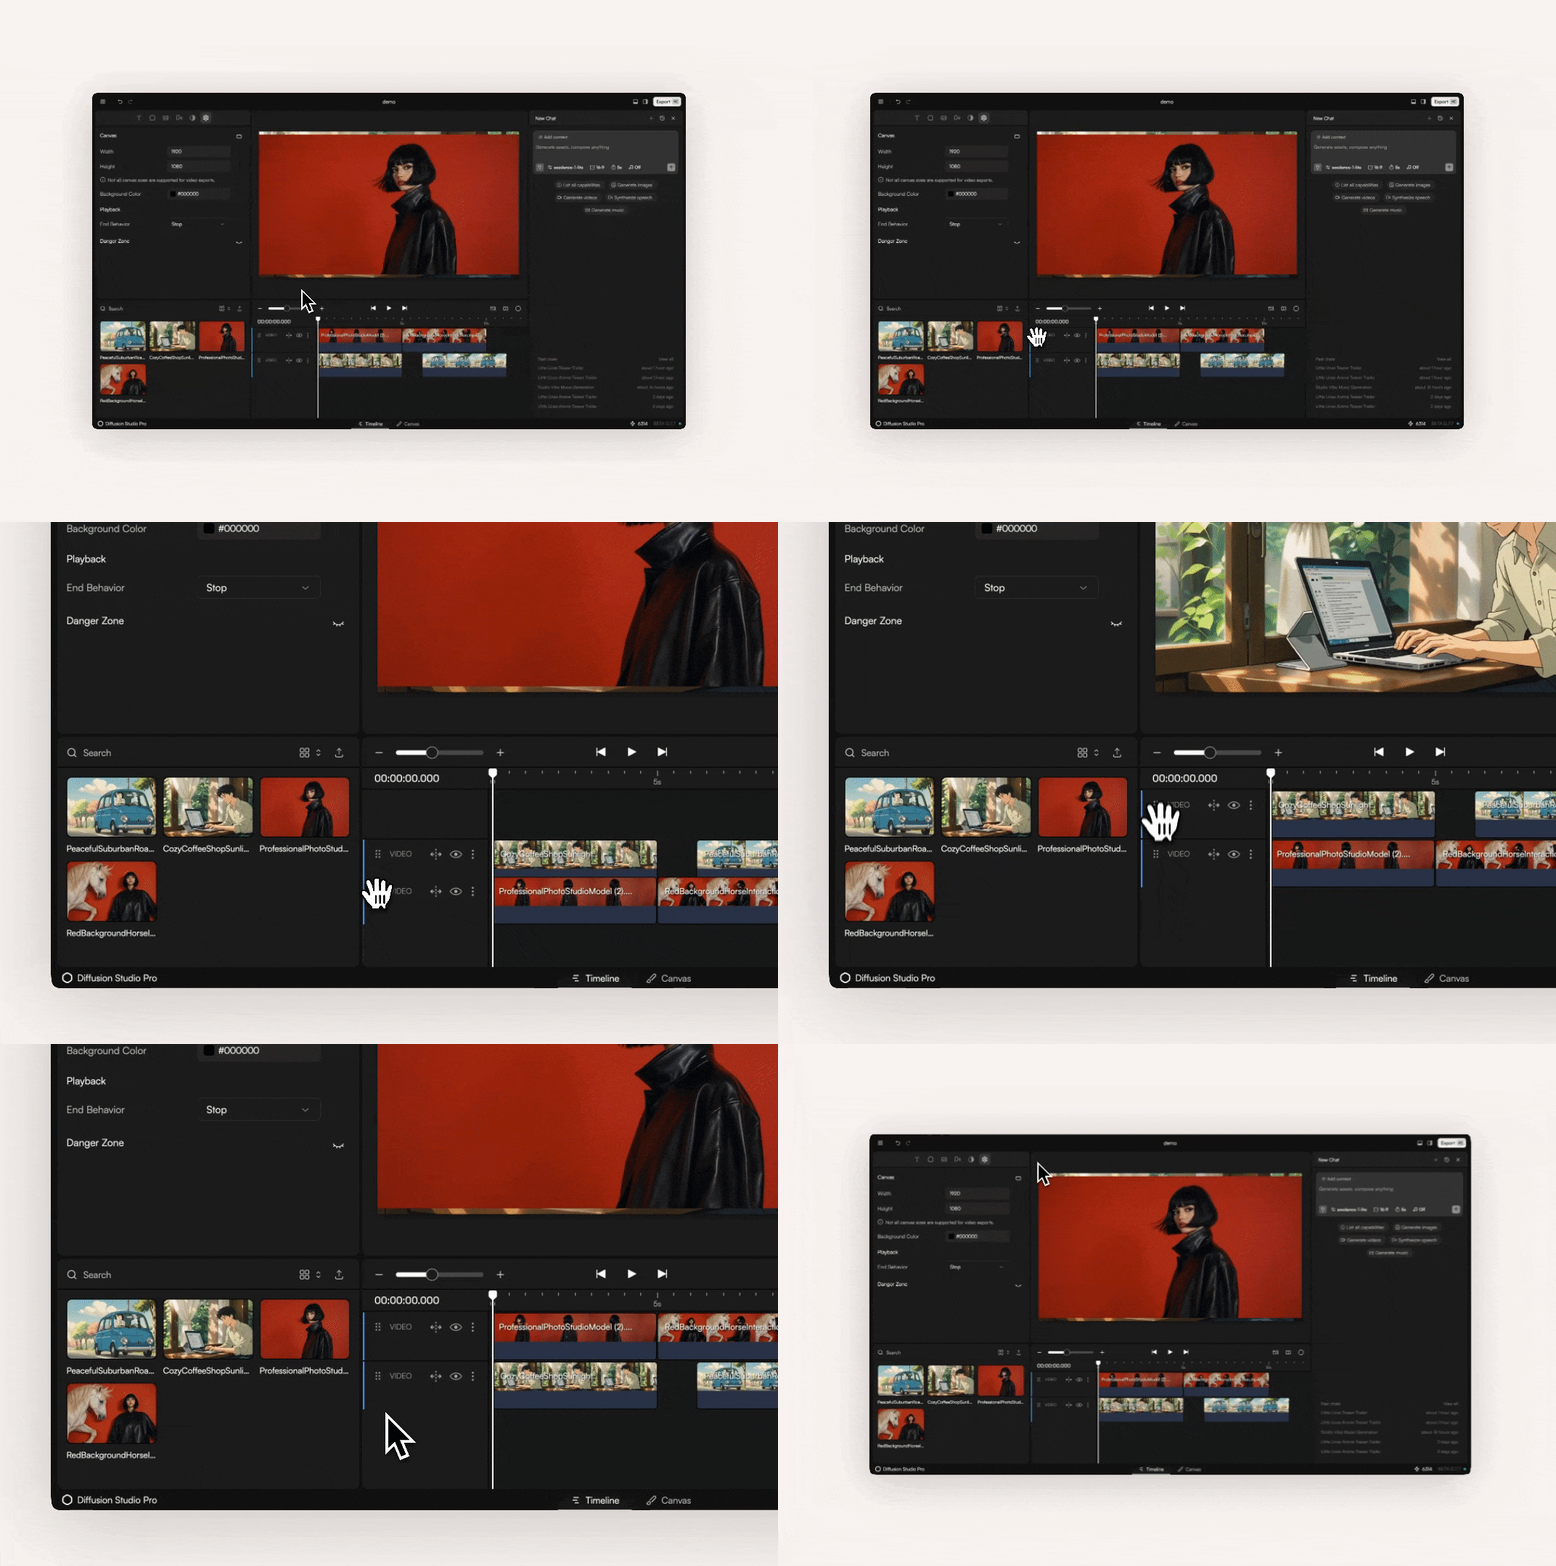 * **Move Track (Handle)** – Drag a track up or down.
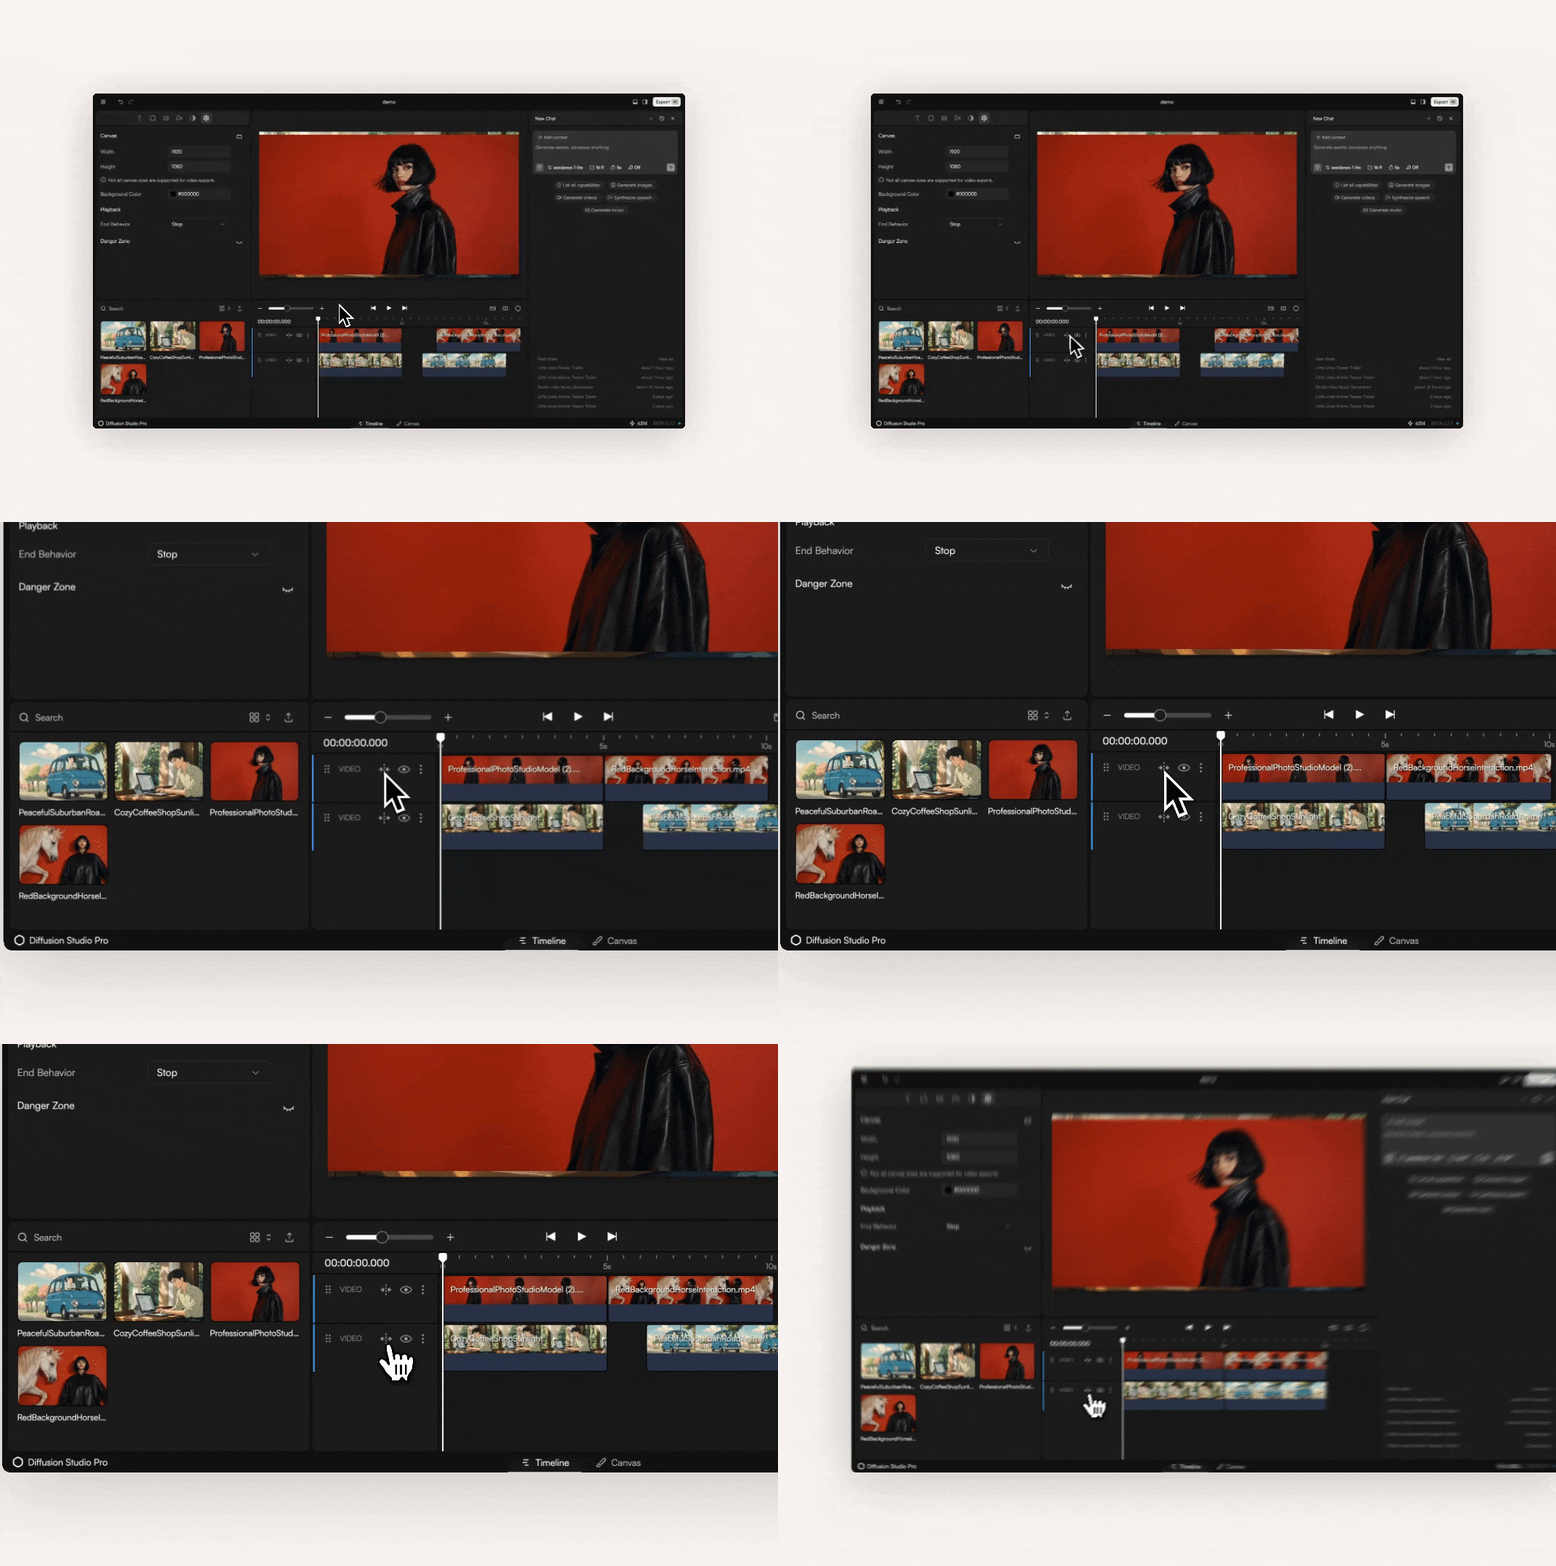 * **Close Gaps (⇔)** – Remove empty spaces between clips.
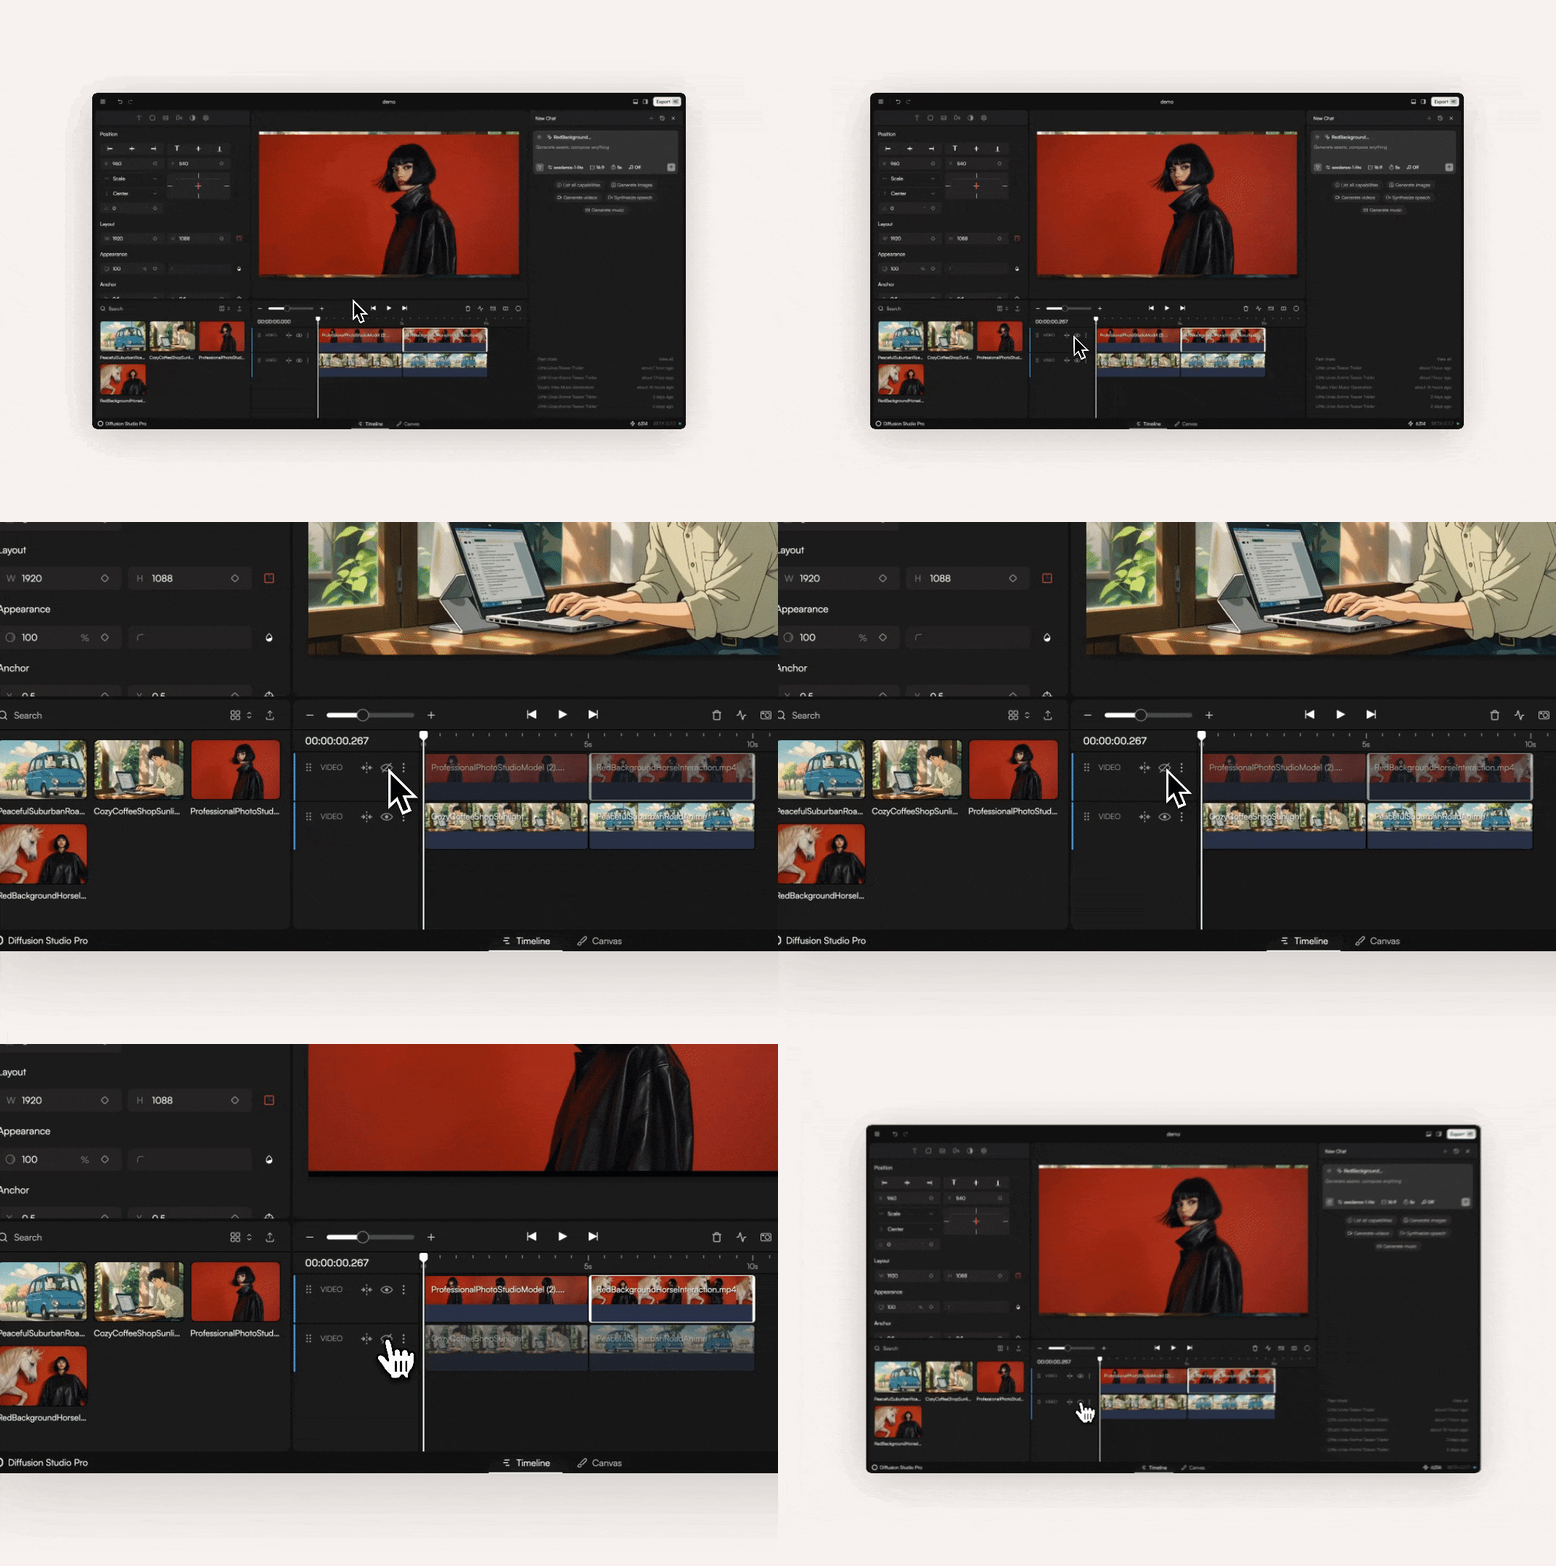 * **Toggle Visibility (Eye)** – Show or hide the entire track.
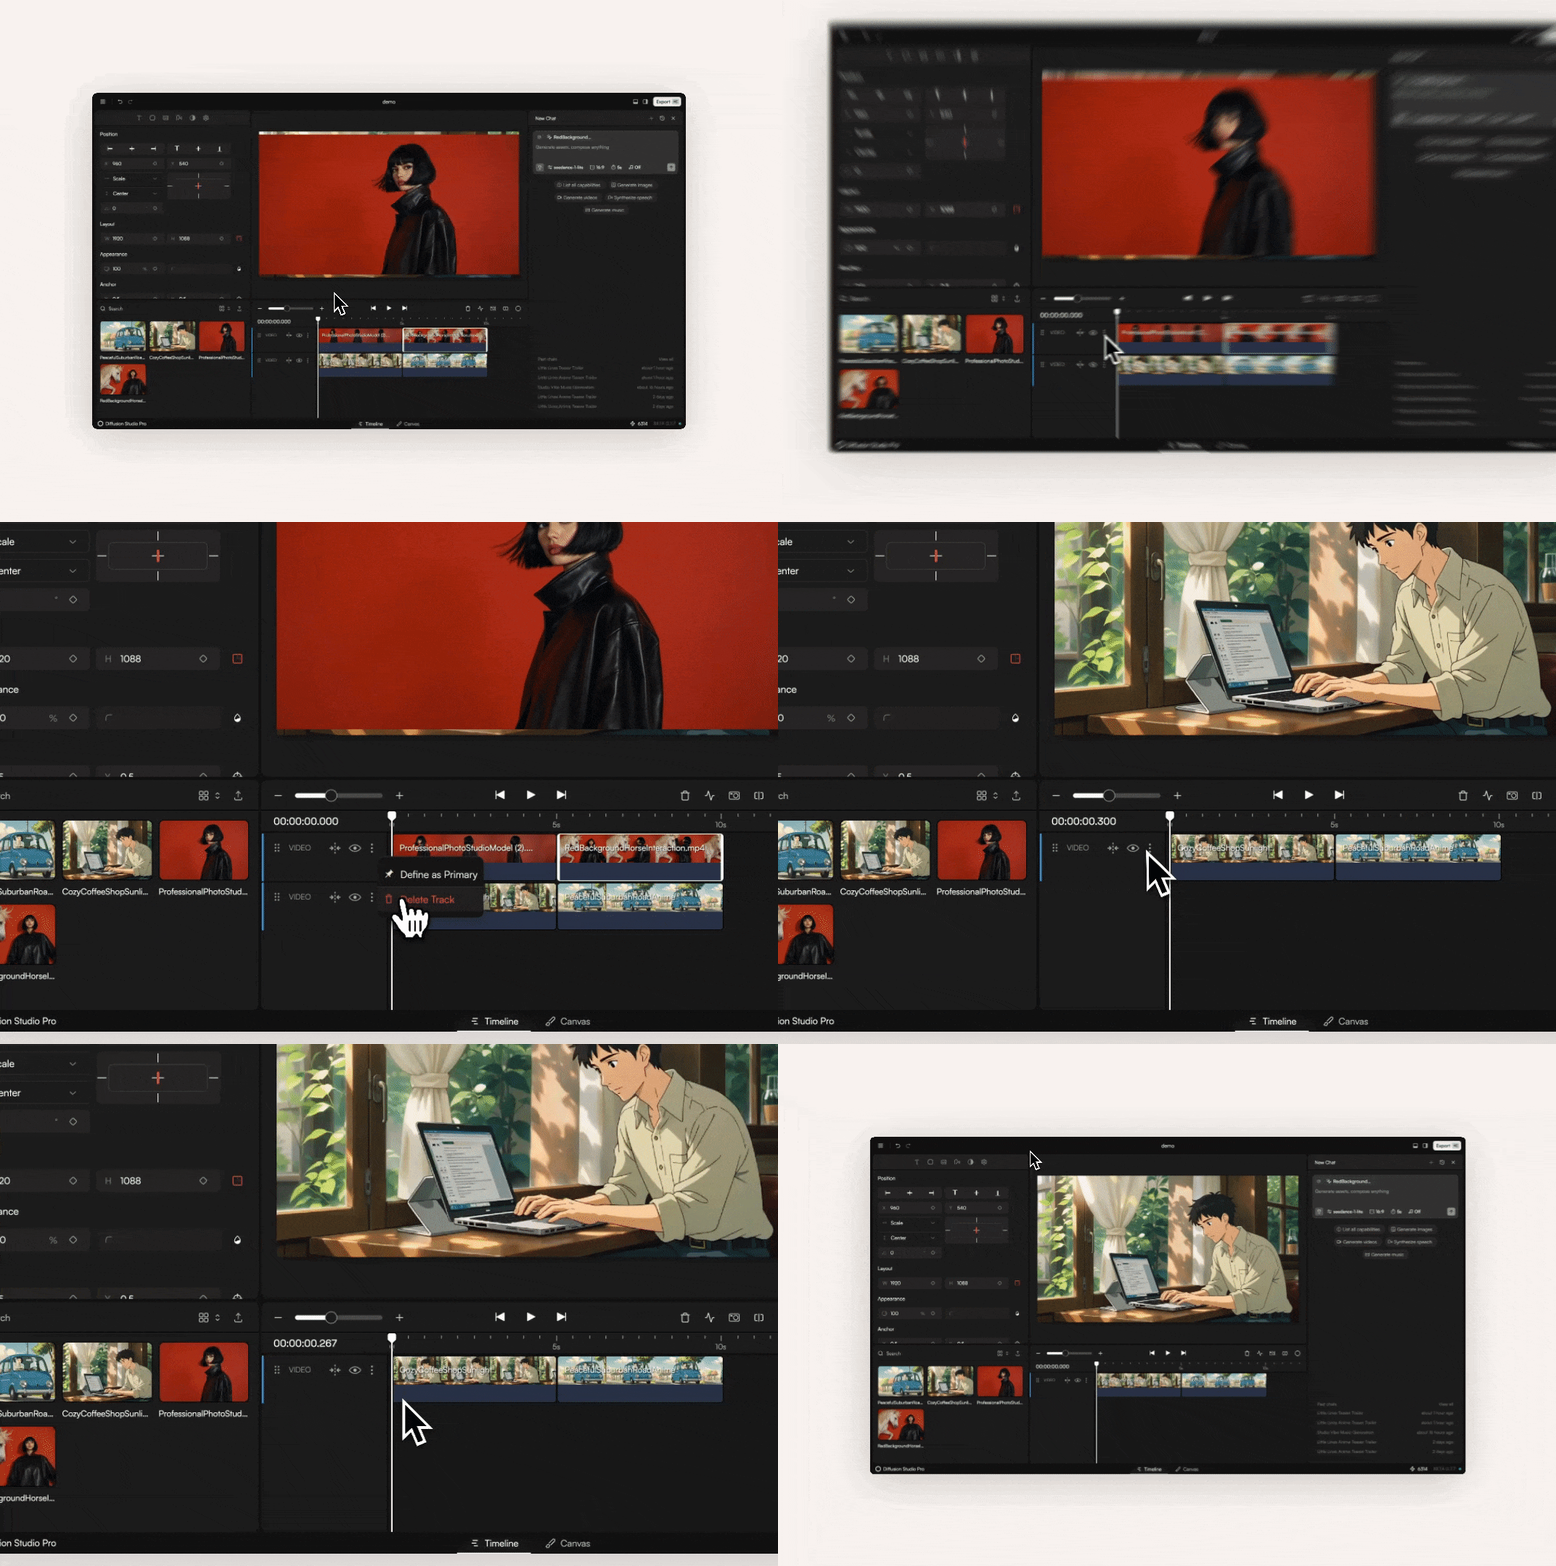 * **Track Options (⋮)** – Set a track as primary or delete it.
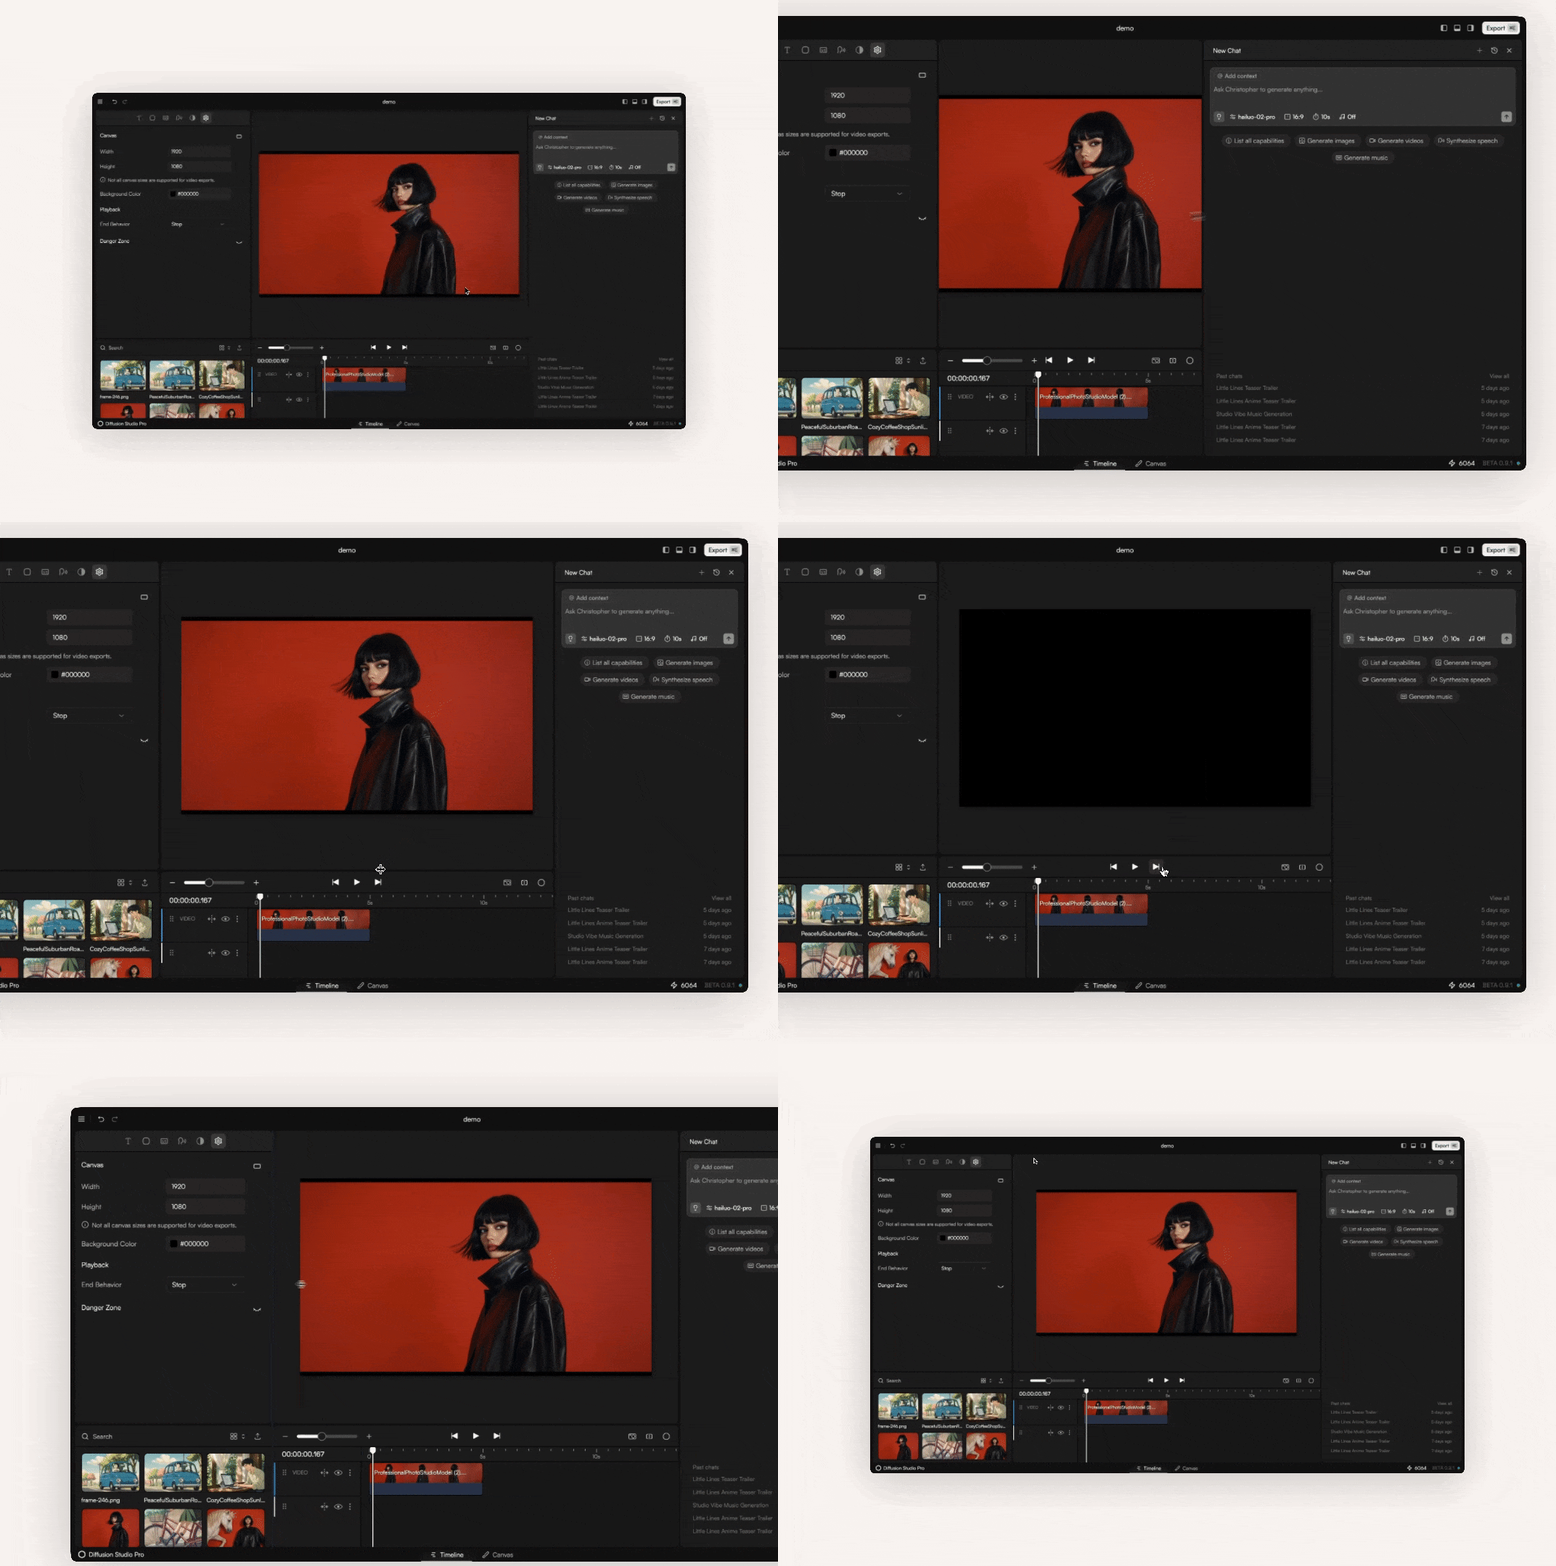 * **All panels** are resizable and toggleable.
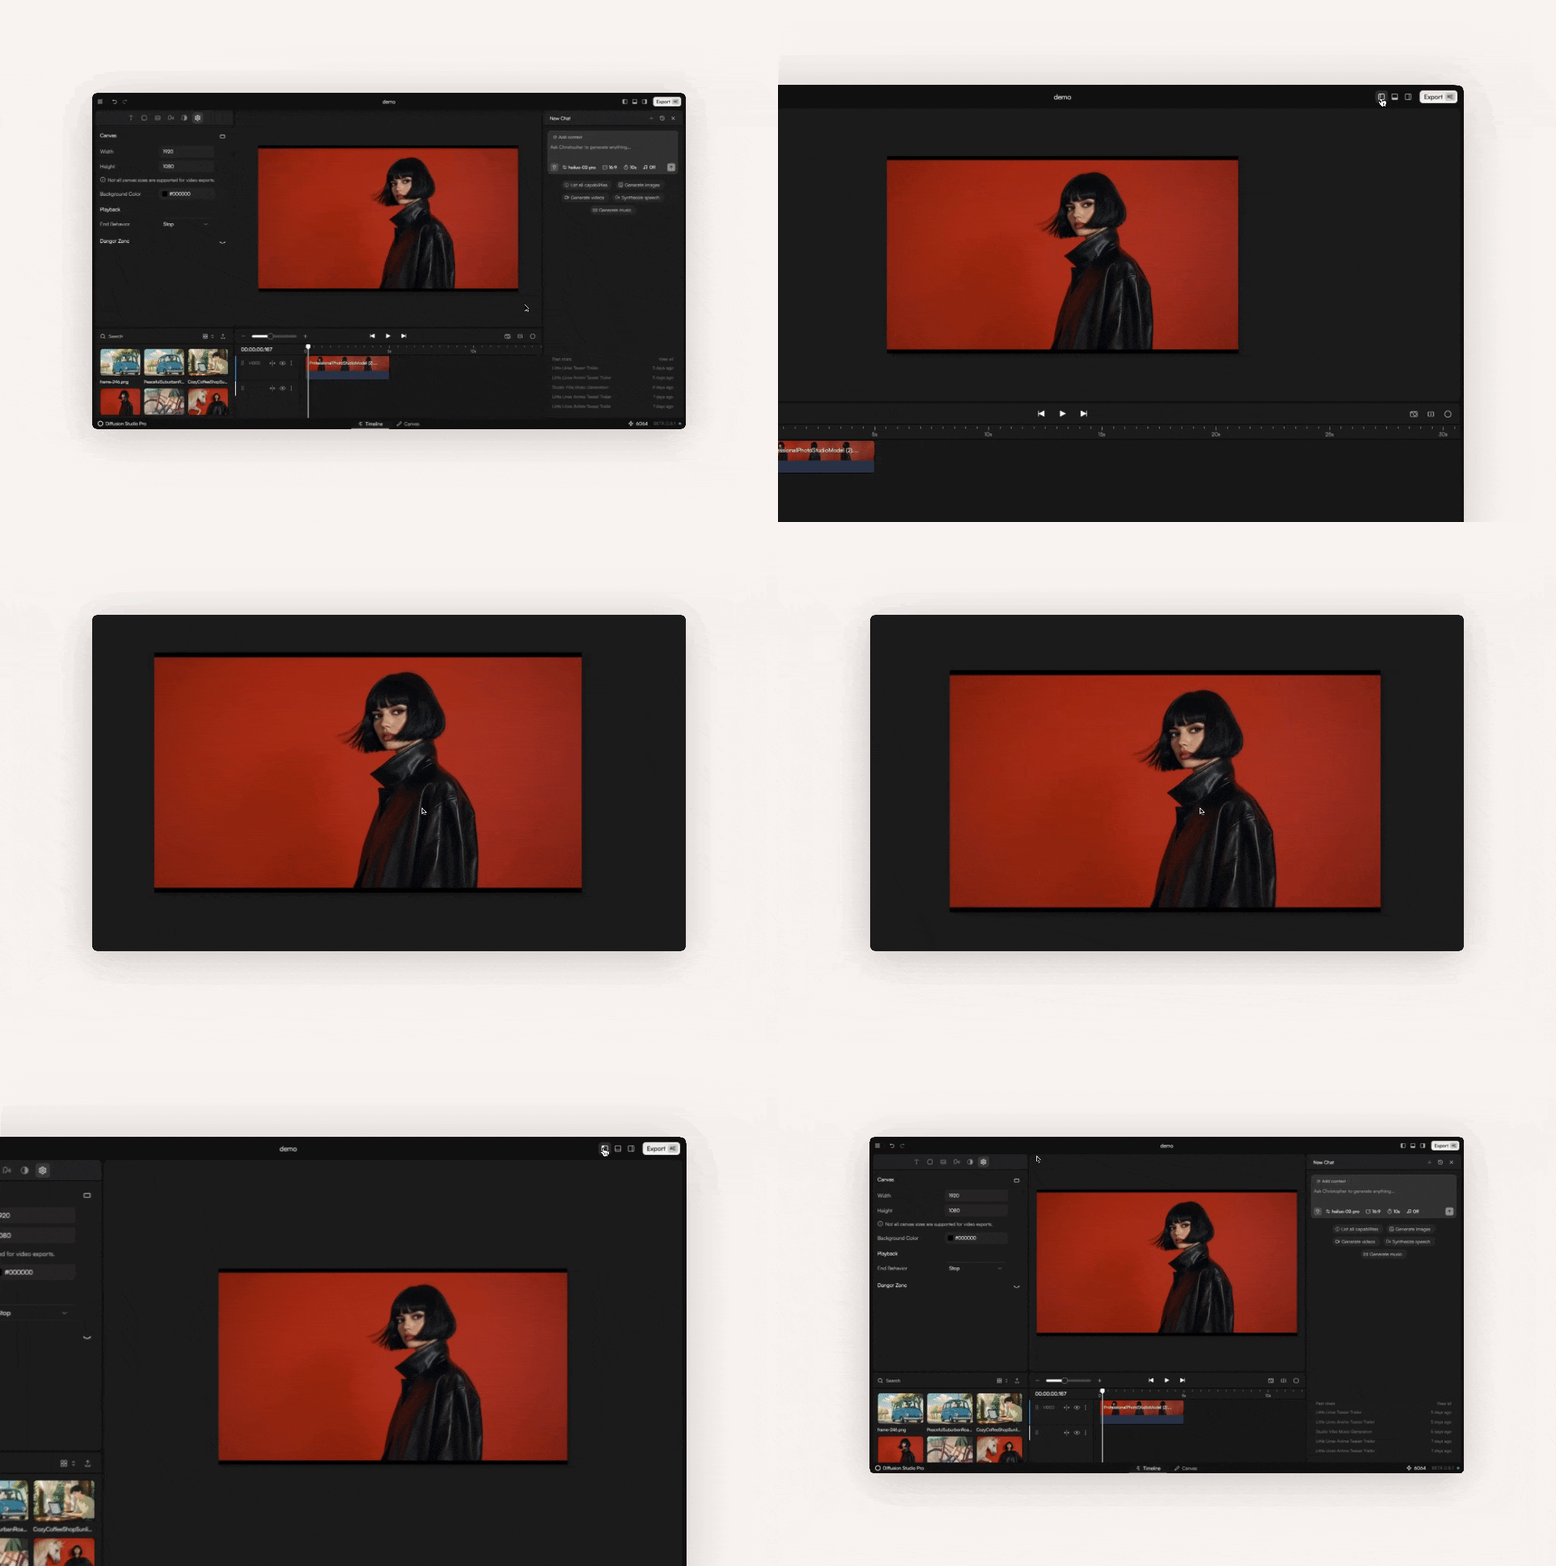 * **Hide** them individually—or hide all at once for a distraction-free view.
***
## Next Steps
Bring in media from chat, uploads, or your computer.
Trim, move, and split clips to structure your video.
Use track controls, transitions, and effects to polish.
Save frames or render the full timeline.
* **Hide** them individually—or hide all at once for a distraction-free view.
***
## Next Steps
Bring in media from chat, uploads, or your computer.
Trim, move, and split clips to structure your video.
Use track controls, transitions, and effects to polish.
Save frames or render the full timeline.