> ## Documentation Index
> Fetch the complete documentation index at: https://learn.diffusion.studio/llms.txt
> Use this file to discover all available pages before exploring further.
# Chat Box
> The chat box configures how your AI conversations work.
## Controls at a Glance
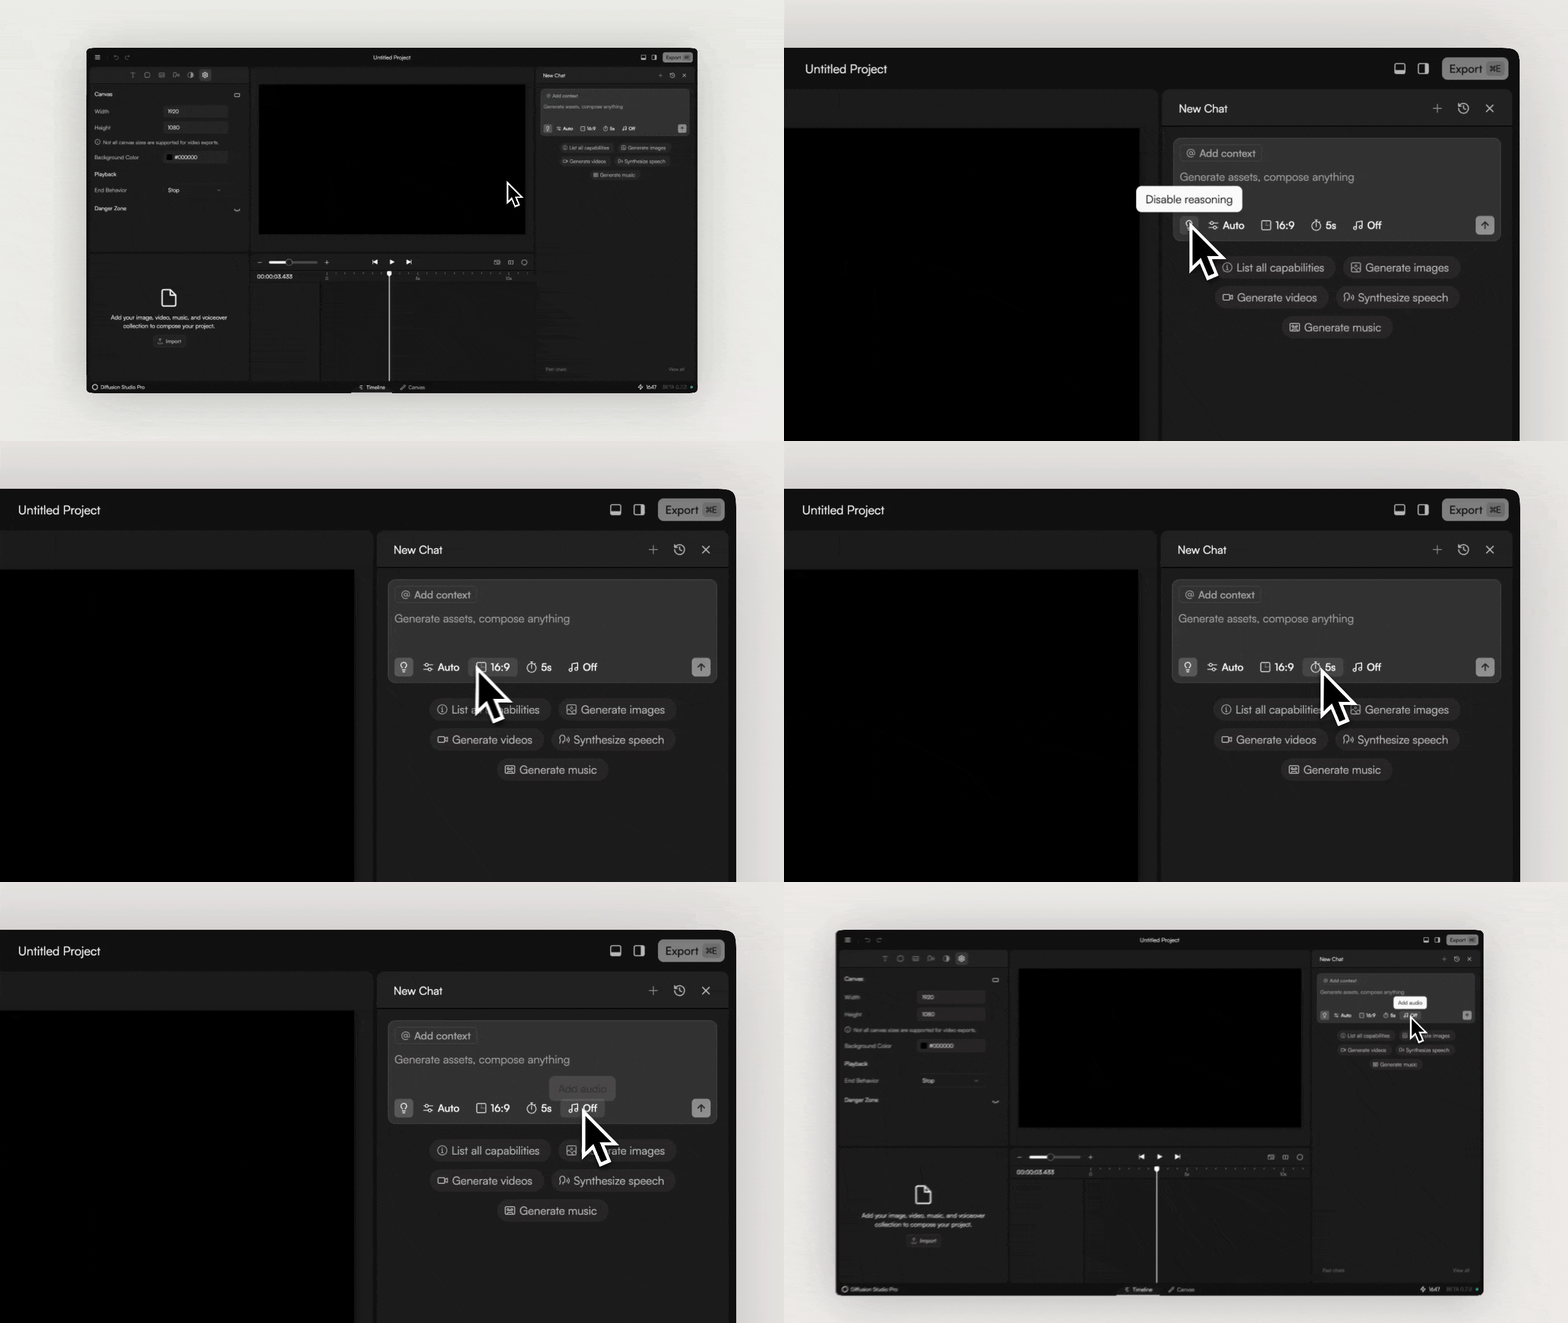
When enabled, the agent will create a step-by-step task list before acting on your request.
After each step, it will decide what to do next. Recommended for complex, multi-step tasks.
For simple tasks like generating an image, it's faster to keep this off.
The agent has access to 16+ tools. Here you can choose which tool it's allowed to use.
Set the aspect ratio for generated images and videos. Not all aspect ratios work with every tool - if
your chosen, one isn't supported, the closest available option will be used.Set to `Auto` to let the system
decide based on your prompt or chat context.
Sets the length of generated videos.If your requested length isn't supported,it will use the
nearest available option.
When enabled, generated videos will include audio. This takes slightly longer than generating without audio.
> Not all aspect ratios or durations are available for every tool. If an option isn’t supported, the closest available option will be used automatically.
***
## Optimizing prompts
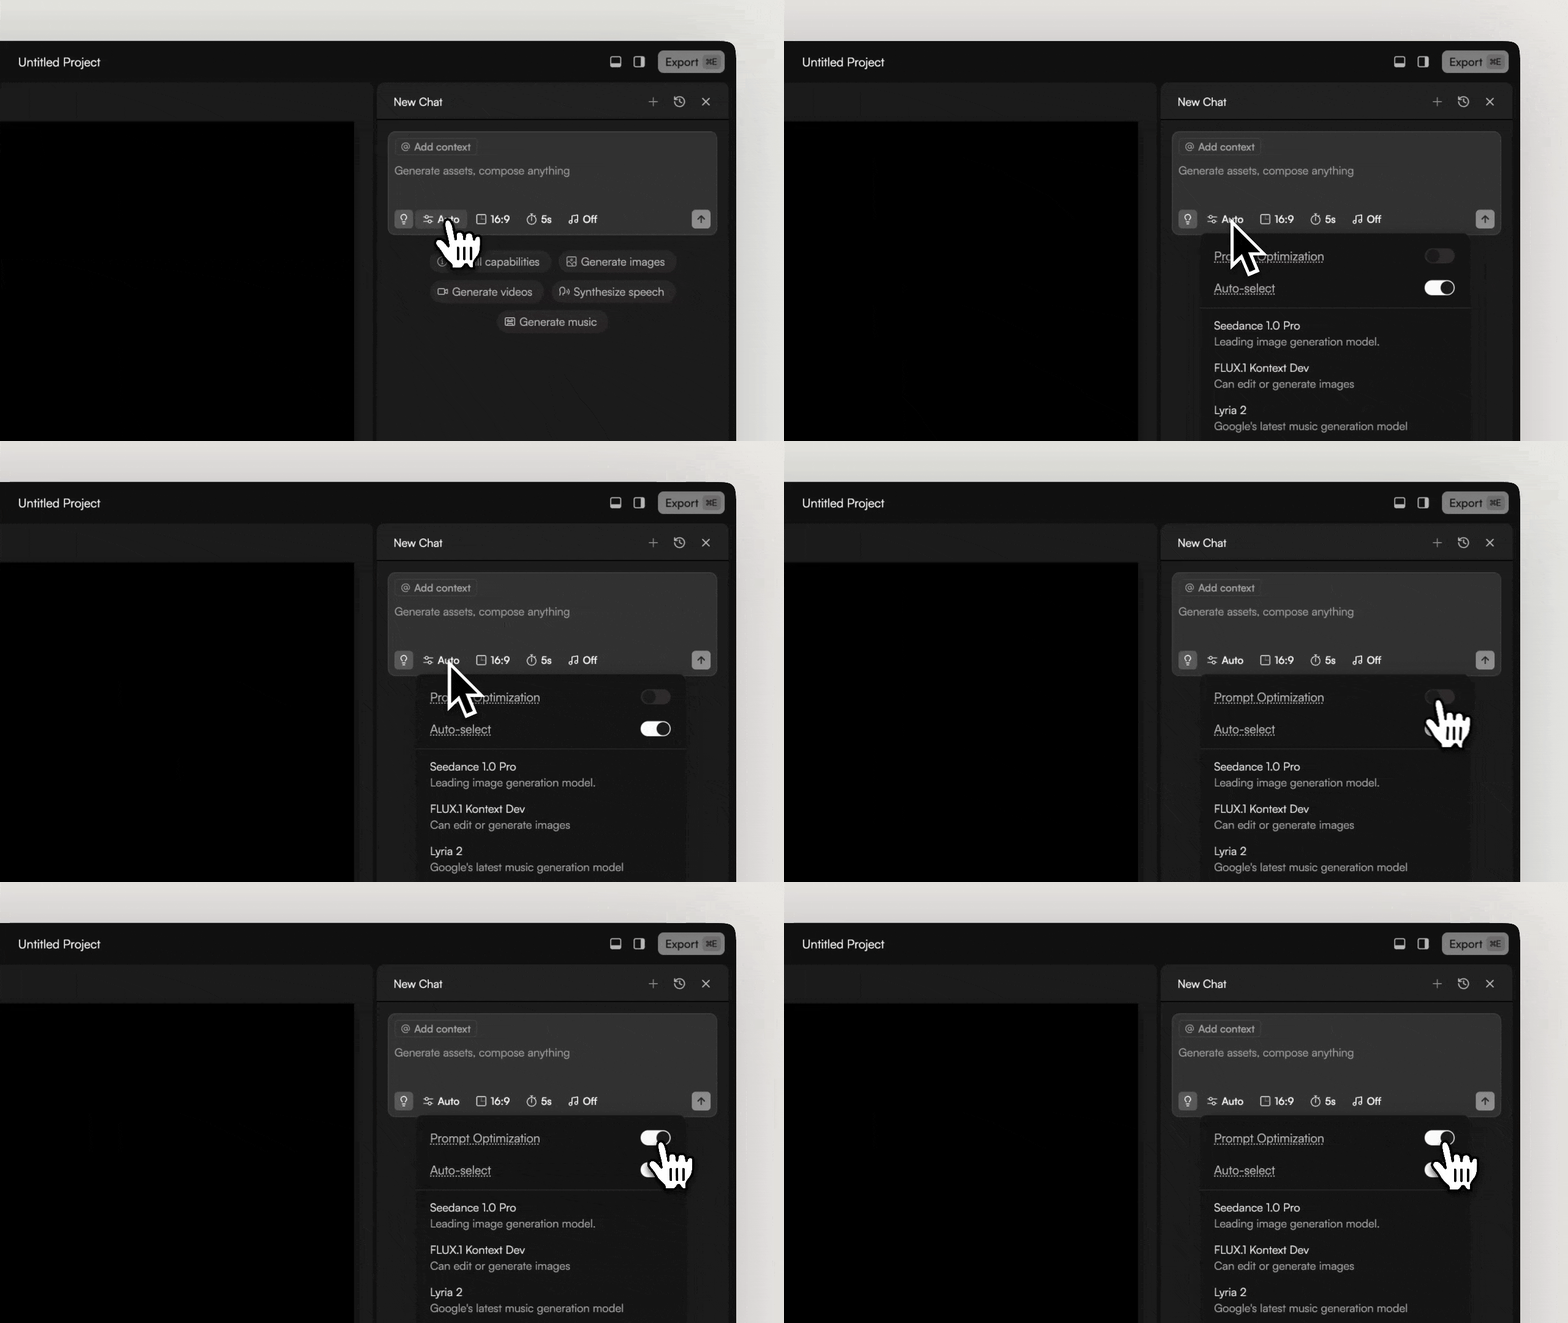
Within the Tool configuration, you'll also find a switch for `Prompt Optimization`.
When enabled, the agent uses an LLM to restructure your prompts so they work best with each tool. In other words, it automatically applies best practices for prompt writing.
> Tip: For high-fidelity prompting and precise prompt engineering, keep this disabled so your exact wording is preserved.
***
## Defining tool the access
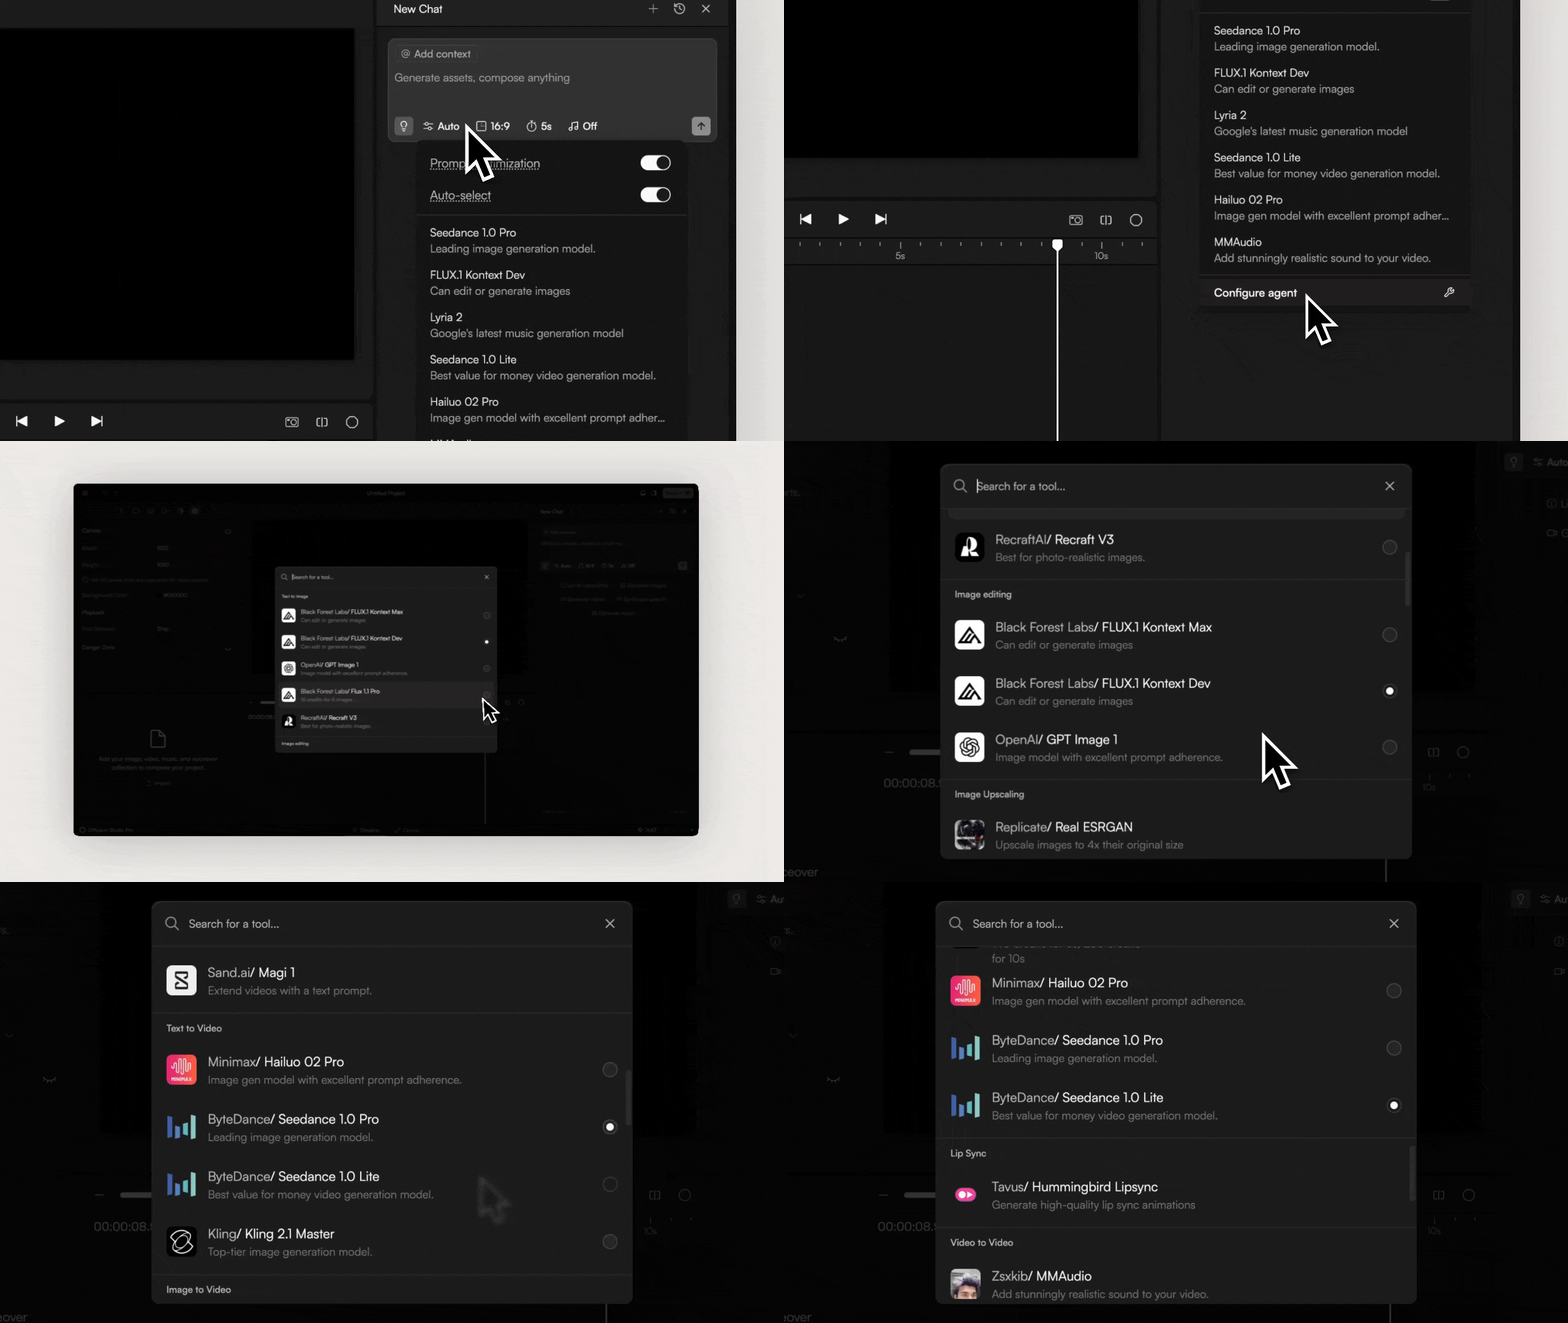
At the bottom of the same dropdown, you'll see `Configure agent`.
The agent can access multiple models for the each tool. E.g.
the tool "Text to image" might use `Flux.1 Kontext Max` or `GPT Image 1` .
Click on a model to select it, **double click to make it your primary selection**
> There’s no single “best” model — it depends on your style preferences, desired output speed, and budget. As a research company, we continuously monitor the generative space and make state-of-the-art models available whenever possible.
## Next Steps
See end-to-end workflows.
Create a Game Trailer